Milk embroidery bread
By VicentaLakin
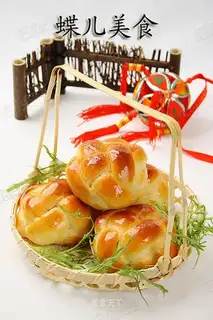
It's all milk and noodles without a drop of water, and it's full of fragrance, soft and sweet, and long. Beautiful embroidery buns are well suited as easy food for spring or travel, and not only do they taste good, but they certainly attract your eyes. Embroidery is a blessing for the Chinese people and a token of love between young men and women. In ancient Chinese customs, when a girl is married, she is scheduled to be married on a certain day (which is usually 15th or 15th of August) when the suitor is concentrated under the embroidery building, and the girl throws a embroidery ball. The girl usually looks at the man and throws the embroidery ball on him so he can find it. There are many places where the bride's limousine must be made of embroidery. I baked an embroidery bag last night, used 300 flour, and made nine about 33 grams each, but my grill wasn't big enough, and each one was stuck together, although it tasted good, but it didn't look perfect. I didn't want to wake up this morning and start to meet again, this time with 220 grams of flour, fermenting one morning, coming home from work at noon with plastics, double fermentation and baking, and finally the more satisfactory embroidery ball comes out of the oven, full of bread and sweet milk. My husband said to me, "You're crazy, you don't sleep at night, you don't sleep at noon," and I said, "That's a good student. How hard do you think I am? Kung Fu has no heart."
Recipe Recommendations
- Jinxiang high-gluten flour 190 grams
- medium-gluten flour 30 grams
- milk 110 grams
- egg white one
- white sugar 30 grams
- butter 25 grams
- fresh yeast 8 grams
- salt 1/4 teaspoon
- fresh egg yolk one
- cooked vegetable oil appropriate amount
- sweetening
- roast
- several hours
- senior
Steps for Milk embroidery bread
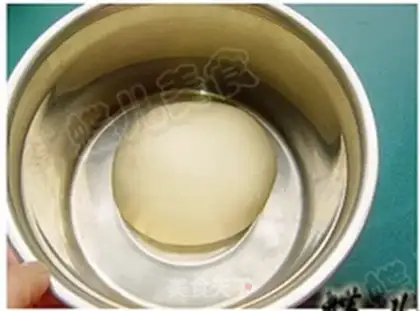
1
The main material is fully contained in the basin, except for butter, and the gill-to-noodle can pull out the thick film。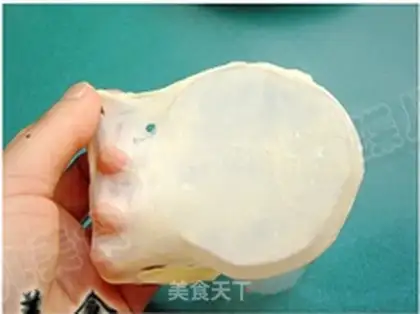
2
The oil, which has been softened into small blocks, continues until the full expansion of the lasagna, where transparent film can be pulled out。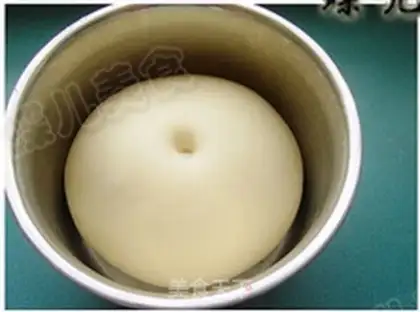
3
The pasta is covered up to 2-3 times the size of the original。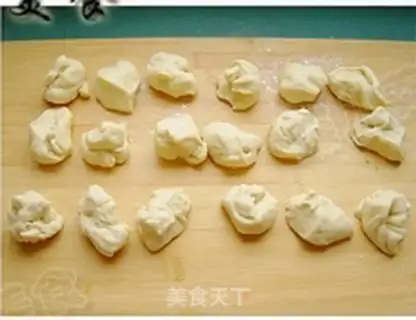
4
Split the noodles into 18 equals, each weighing about 23 grams。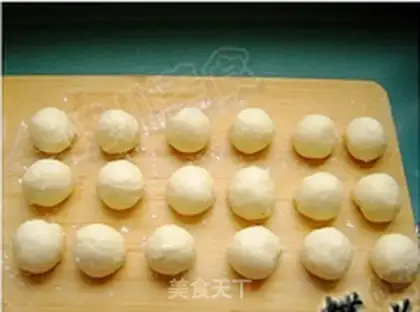
5
Rounds, 10 minutes。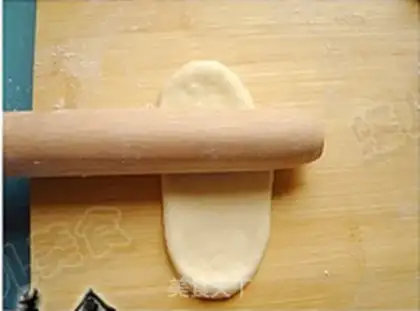
6
Take a dose, gill the tongue。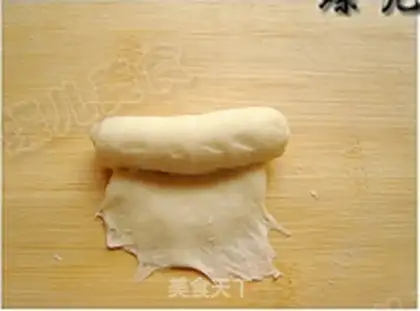
7
Turn over and roll from one end to the other。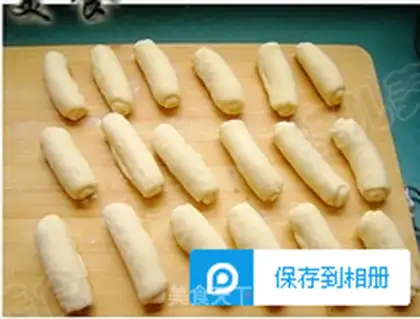
8
All the agents are rolled up and covered for 10 minutes。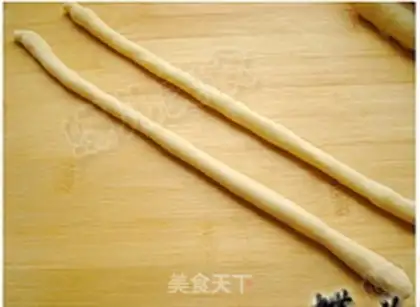
9
Take two rolls and rub the strips around 7-8 mm in diameter。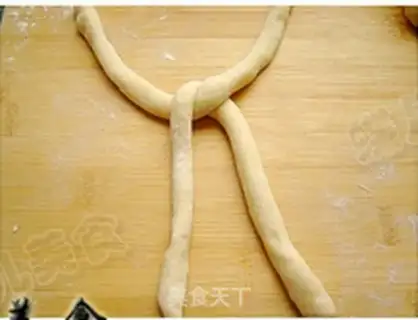
10
The two crosses。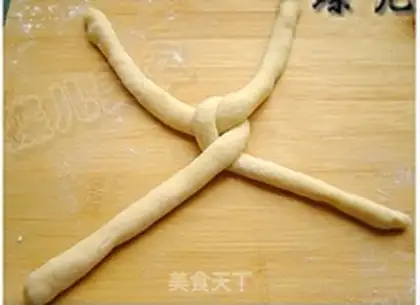
11
Two of them cross first。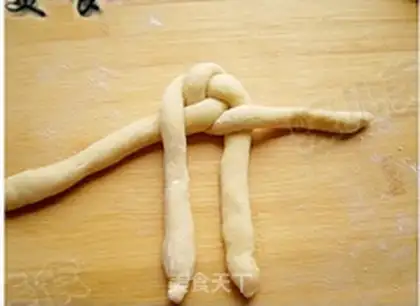
12
About two more crosses。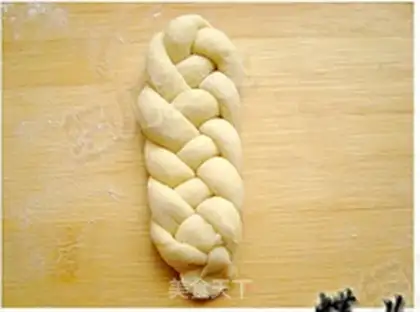
13
Repeat steps 11, 12, and make them into 4 braids。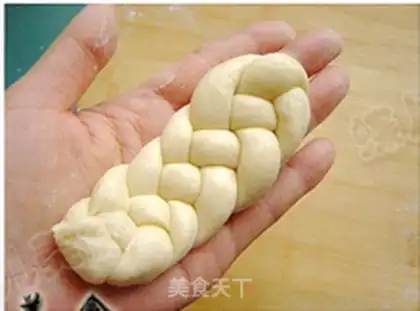
14
Turn the braids over and brush the surface with water。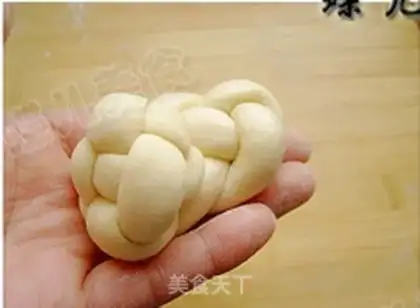
15
Rolling up by the thin end。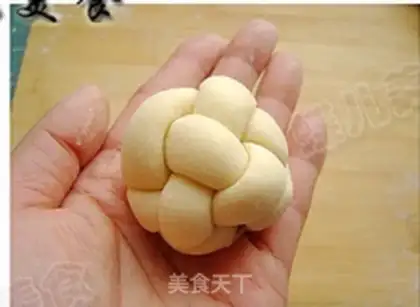
16
The interface is tight, plastic。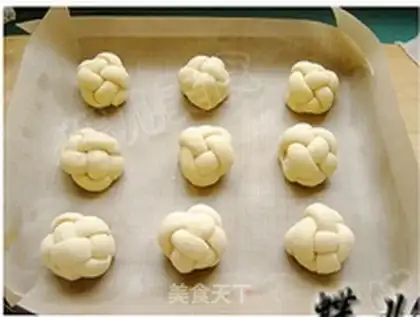
17
Make a good embroidery bag and put it on the grill。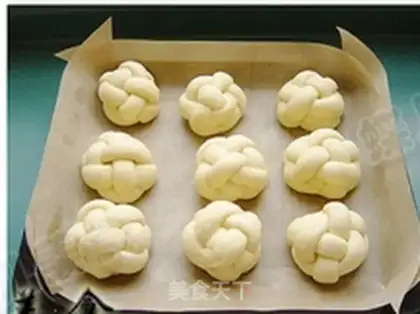
18
Add a lid to the original size。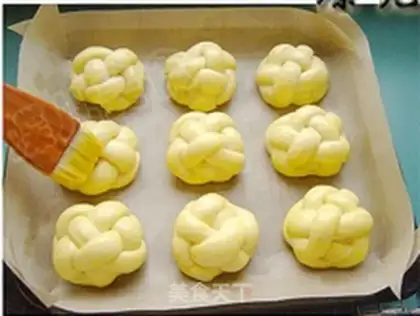
19
A thin layer of yolk on the surface。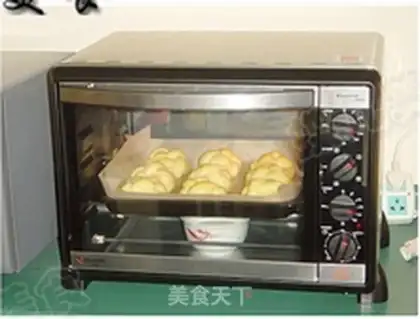
20
The oven is preheated and roasted at 165 degrees for about 10 minutes。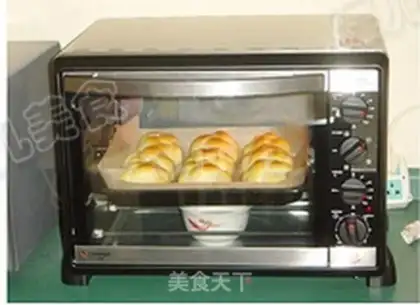
21
Cover the surface with tin paper and roast it for 15 minutes (if the oven has a loop function that can be opened at this time)。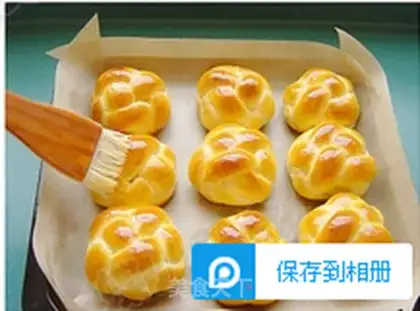
22
Take out a roasted embroidery bag with a line of cooked vegetable oil or melted butter。Milk embroidery bread Make Tips
1. Knead the dough until fully developed so the bread will have a stringy texture.
2. Do not substitute high-gluten flour with regular flour; the gluten strength differs, affecting the result.
3. Cover the dough with foil once it starts to color in the oven to ensure an even bake.
4. Brushing a layer of oil on the surface after baking will make it look more attractive.