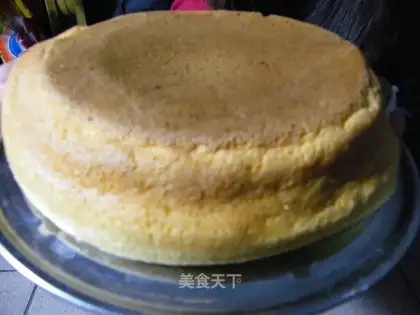
Although I don't like eating cake very much, I like to enjoy the hands-on process. This is an unforgettable memory of life. I don't have any tools except an electric rice cooker, plates and chopsticks, so the cake I make is very simple and crude. Unexpectedly, it worked! Although it is not perfect, the taste and texture are all very good and satisfying.
This is the first time I make a cake, give yourself and my dear friends a round of applause, haha.
milk cake
By GildaWelch
Recipe Recommendations
- flour appropriate amount
- milk of 3
- white granulated sugar 125ml
- egg appropriate amount
- milk fragrance
- baking
- several hours
- ordinary
Steps for milk cake
1
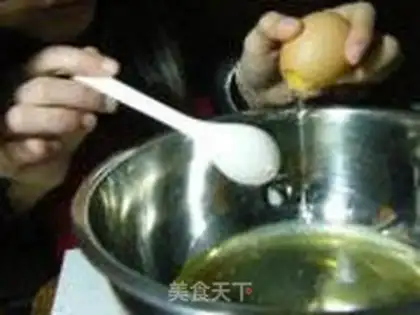
STEP1: Separate the egg yolk and egg white. There is no egg divider. I use a spoon to knock a hole in the egg shell. This method divides it very cleanly! super powerful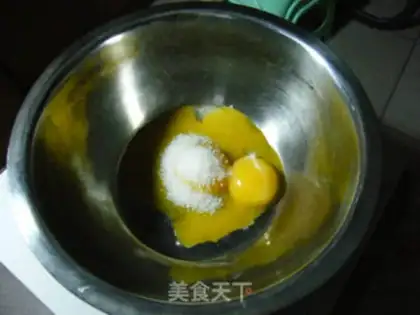
2
STEP2: Put white sugar in the egg yolks. I put 3 spoonfuls in it, and the effect was a faint sweetness. You can put more sweet things you like, there is no problem.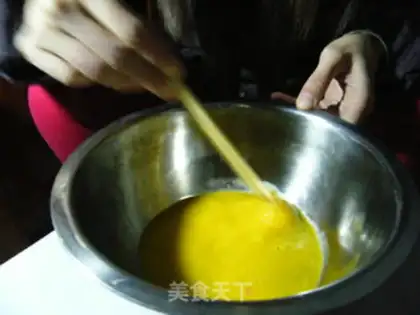
3
STEP3: Stir it up and down like beating an egg, just evenly.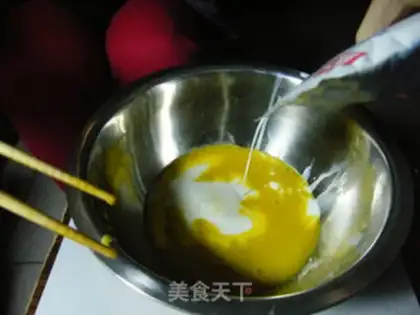
4
STEP4: With milk, I bought it in paper bags, about half filled.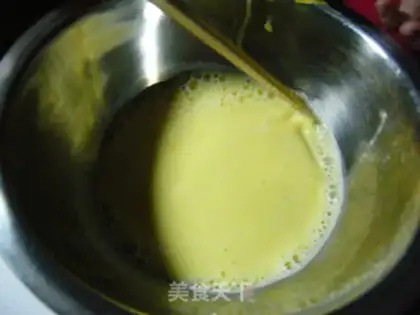
5
STEP5: Turn it up and down again like beating an egg and mix evenly. Until the sugar melts.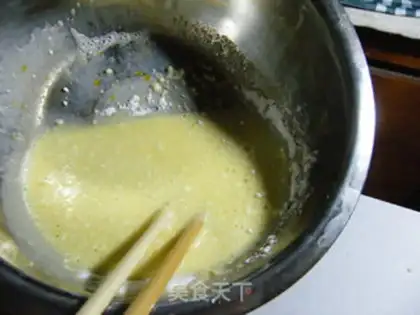
6
STEP6: Adding flour is ridiculous. There is only steamed bun flour, and it has not been sifted, so it is used directly. In fact, it's the same. It's not flour yet. It's just that there are more grains of flour that have not been sifted, and it will get better after mixing it a few more times. Or use spoons and chopsticks to crush them one by one. It is also a good method. My friend and I decided not to do it, it was very troublesome. Just know that the egg yolks are a little mushy.
7
STEP7: This is a decisive step. One mistake will lead to everlasting hatred. We don't have an egg whisk, we have two chopsticks. I know I can't do it on my own, so I take turns messing with my friends! Add 2 tablespoons of white sugar to egg whites and start! It's just turning it hard like beating eggs. Friends who don't have enough endurance must find help.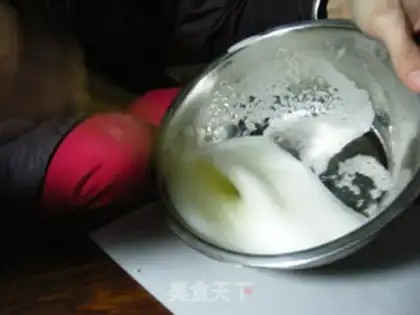
8
STEP8: After 1-2 minutes, the egg white will turn white and bubble. Continue beating!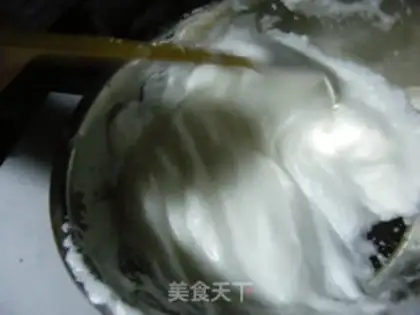
9
STEP9: Unconsciously, you will find that the volume of the bubble is getting bigger and bigger, indicating that you are about to achieve success. Don't relax because you are too tired.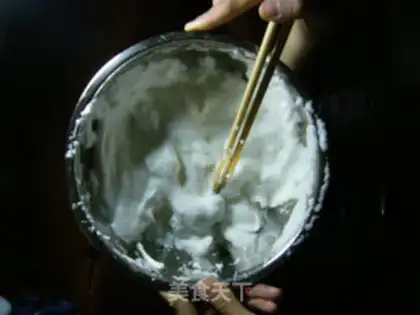
10
STEP10: See that? If you turn the plate over and don't fall off, it proves that it's OK. No matter how sore your hands are, it's worth it. Let's go to the next step!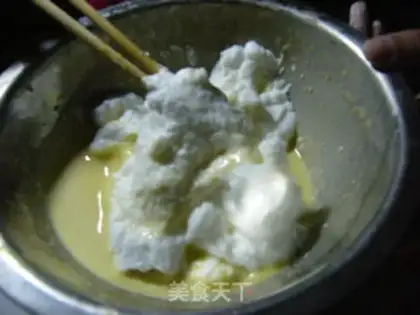
11
STEP11: Gradually add the solidified egg white into the egg yolk paste, and separate it two or three times. Stir it up and down.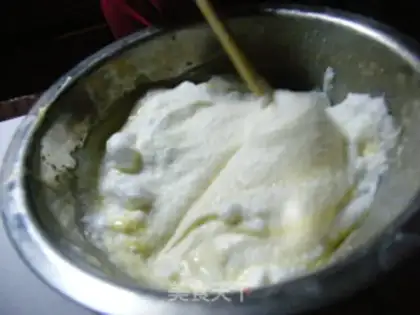
12
STEP12: Mix the two and stir constantly.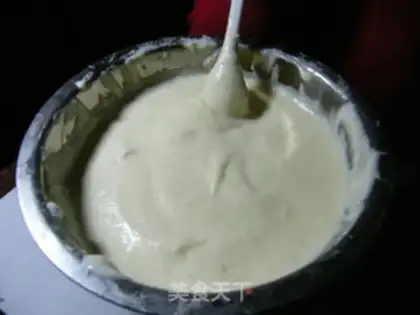
13
STEP13: This is the final mixture! A lot of bubbles, you can't win. Some people say that using a spoon to cross the inside while rotating the plate, I don't think the effect is obvious. Finally, float on it with the back of the spoon and move it back and forth, and it feels better.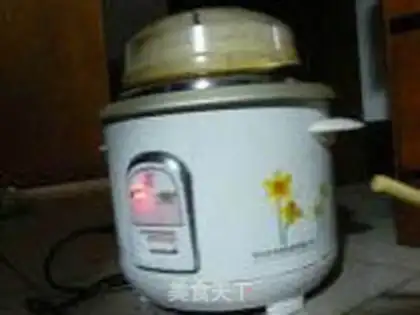
14
STEP14: The electric rice cooker is about to start. First apply some oil in the pan. There is no brush, only your fingers. Just repeat it 2-3 times, and apply it to the corners. Then press the switch until it trips.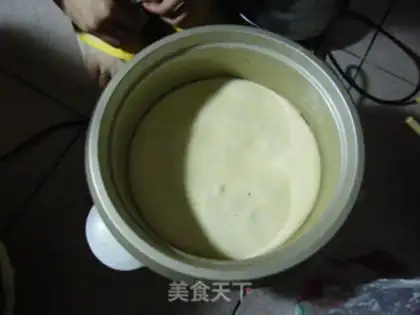
15
STEP15: Slowly pour the mixed paste into the electric rice cooker, gently shake the edge of the pan until the paste is smooth, cover the lid, and press the switch. The first time I jump quickly, no matter what, press it for about 20 minutes; the second time I jump quickly, no matter what, press it again after 20 minutes; the third time I jump, no matter what, and the pot starts after 20 minutes.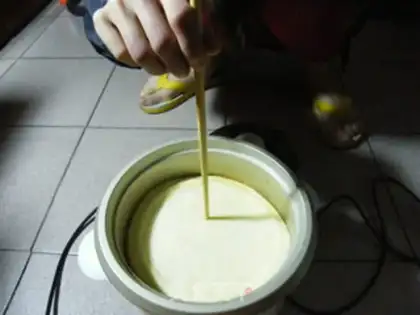
16
STEP16: To test whether the cake is ripe, use a chopstick (no toothpick) to insert it to the end, pull it up, and see if the chopsticks are dry. (When I pulled out the chopsticks, they were dry, but later found that there was still water in them.) The shortcoming of electric rice cookers is that they cannot allow the water to evaporate properly.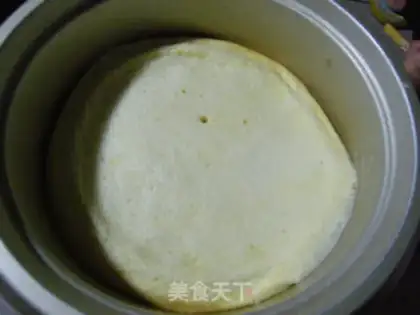
17
STEP17: If it is not dry, you can continue to heat it. Before I opened it, the smell was so fragrant that the house was filled with water. The finished cake was brightly colored, soft and elastic.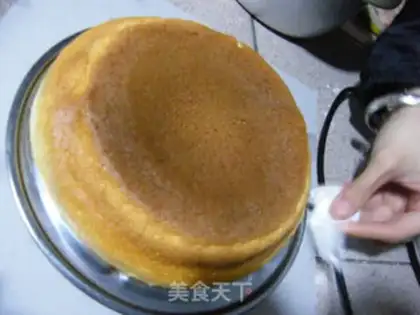
18
STEP18: If you pinch the edge with your hand slightly, it will easily fall off. Turn the pan upside down, and the cake will fall off. How beautiful.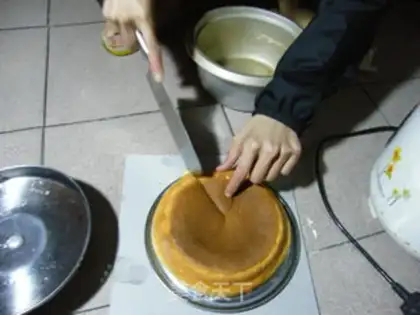
19
STEP19: There is no special knife to cut cakes. You can only use a kitchen knife. You'll feel if it's successful when you cut it in. I found that I also have a common problem with everyone, which is that I can't afford it. Although it is soft, the shape of the cake has not changed. I don't know why yet.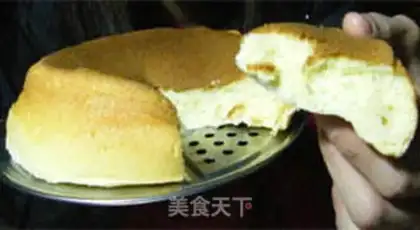
20
STEP20: A faint aroma of milk ~~ Making a cake for the first time is a success!