Colored Cake roll
By VicentaLakin
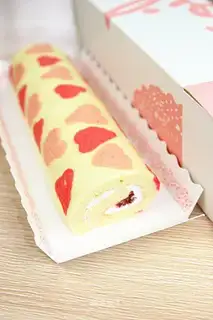
It's full of love, and it's fun to see it at first sight. The colored Cake Cream has broken the general public's impression of the Cake Cream, and in addition to the corn starch, rum and other materials to add the whole taste of the cake roll and the colour changes, just a little bit of effort to paint all kinds of patterns on the surface, and the completed cake roll will be amazing at once! Let's try it together
Recipe Recommendations
- water 60 grams
- salad oil 40 grams
- low-rib surface 80 grams
- low-gluten flour 1 tsp
- corn flour 1 tsp
- fine sugar 10 grams
- hot water 20 grams
- whipped cream 150 grams
- vanilla extract a little
- food coloring 1/8 tsp
- white rum 1/2t of
- Strawberry fruit sauce appropriate amount
- sweetening
- roast
- an hour
- simple
Steps for Colored Cake roll
1
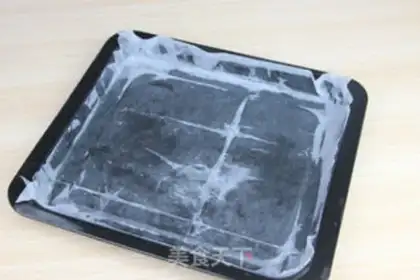
Preparation: a toast with a sheet of oil and a sheet of oil。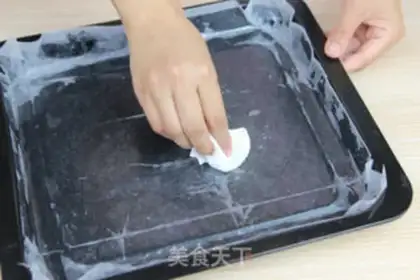
2
On the paper, the napkins are painted with another layer of oil, which is then replaced by the following: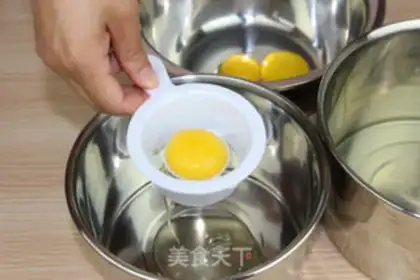
3
Production of yolk paste: separation of yolk from the yolk, divided into one, three, three (one of which is yellow)4
Breaking up three yolks in the kitchen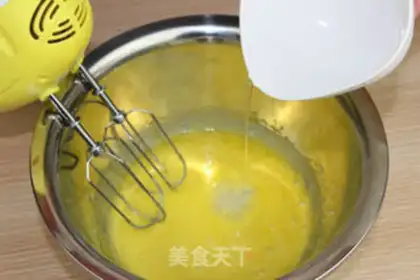
5
Add approximately 1/2 doses of fine sugar (35 g) and mix it with an electric omelet into white bubbles。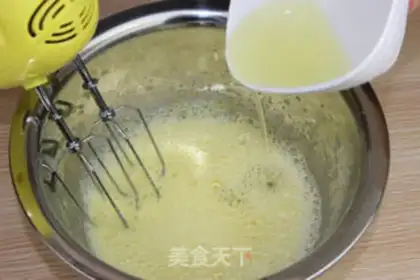
6
Water and salad oil in sequence and evenly mixed。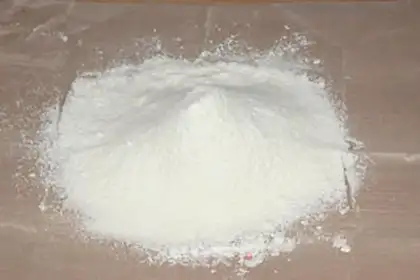
7
Sift low-banded flour in。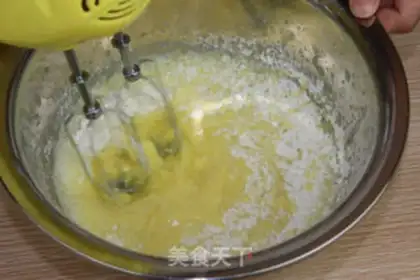
8
Full mixing with an electric omelet。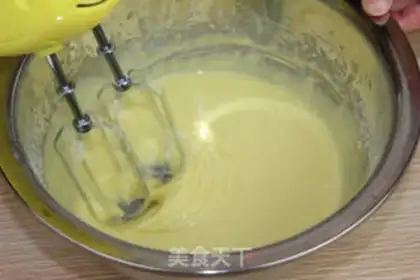
9
Smash to paste and sticky。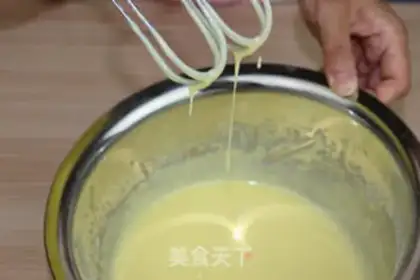
10
That's what it looks like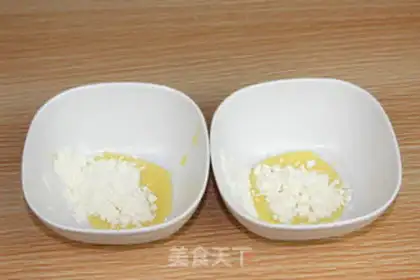
11
Pink paste for making the pattern: prepare two small bowls of two small spoons of yellow paste, and add one half of a small spoon of low-banded flour。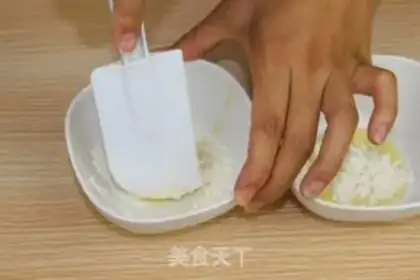
12
Smash even。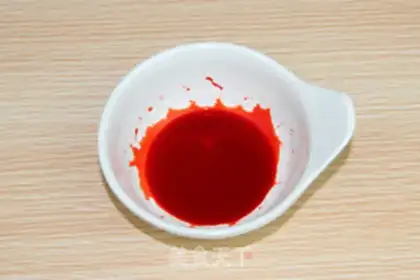
13
The red diet is dissolved with water and a little bit added to one of the bowls in practice 3 to make light pink paste。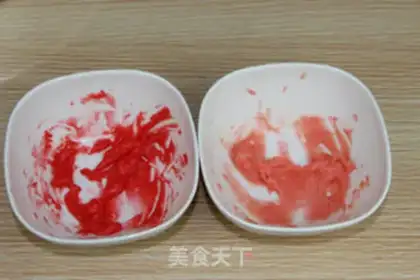
14
The other bowl is a little bit more edible and made of pink paste。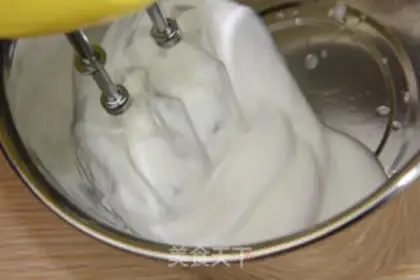
15
Disperse one protein in another cuisine basin, emitter a bubble with an electric omelet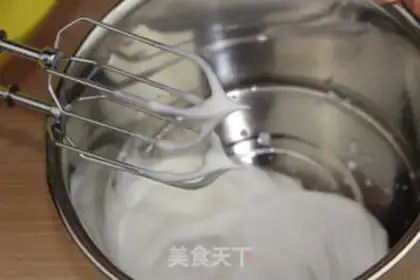
16
Keep mixing up to lift the eggbeater。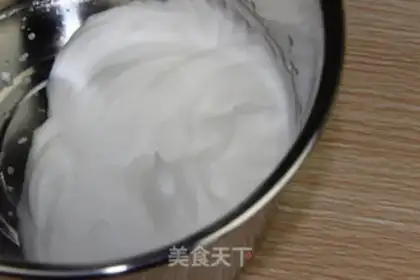
17
Showing a sharp angle。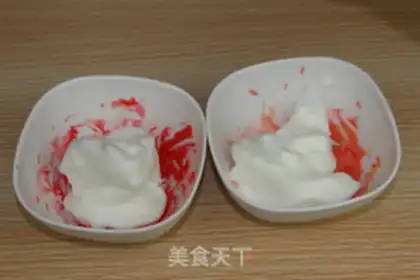
18
The protein cream was divided into three pieces, two of which were added to the two small bowls of practice 4, with a razor rolled up and evened from the bottom, so that the protein did not melt。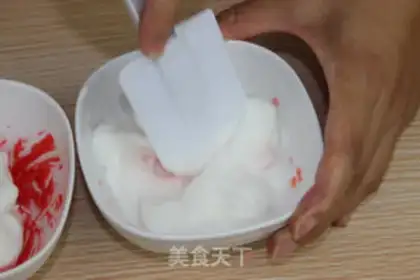
19
用刮刀从下往上翻着Smash even。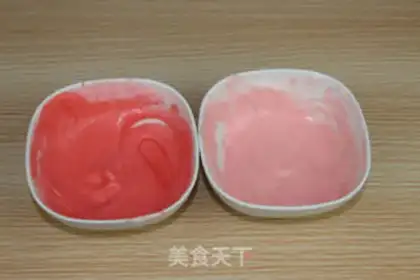
20
In case the protein melts。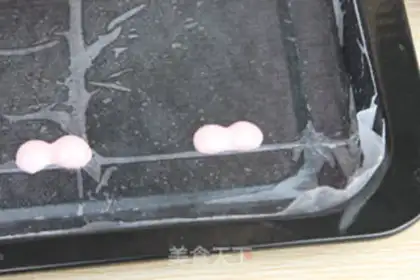
21
draw the pattern on the grill: drop the dark pink face on the grill with a spoon in a circle of about 1 cm in diameter。22
After a drop of two drops in parallel, the circle is wiped down with the tip of the spoon, making a heart pattern。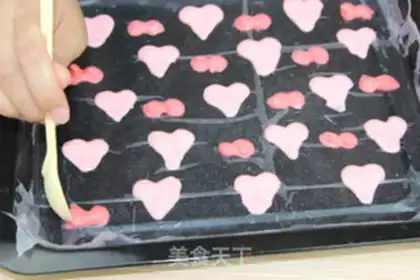
23
In the same way, the light pink paste is painted with a heart pattern。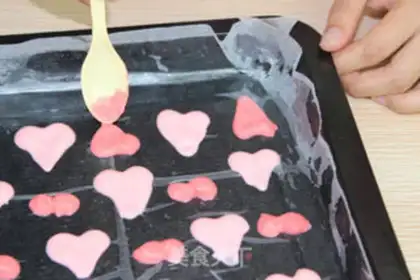
24
PUT IT IN THE OVEN FOR ONE MINUTE AT 170 C。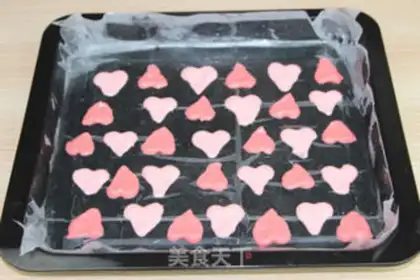
25
To avoid bubbles, bake as soon as you finish。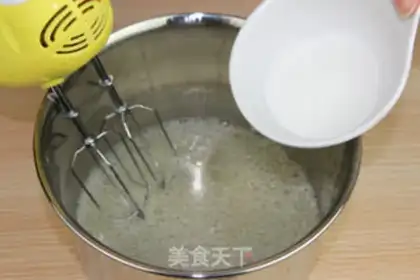
26
Pump out the protein of the cake body (protein frost): 9. Break out the three proteins in the cuisine basin and blow out the bubble. Add the remaining fine sugar from practice 1 (approximately 30 g) after hitting a rigid bubble。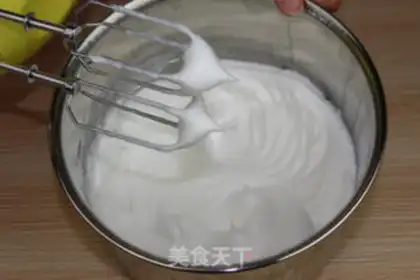
27
搅拌至呈现光泽后,再加入剩下的玉米粉打发至提起打蛋器,Showing a sharp angle。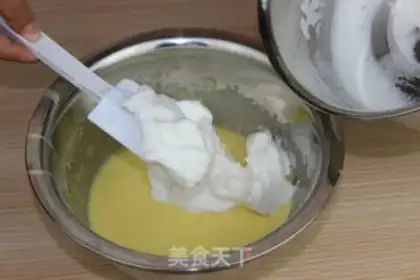
28
Combining the yolk paste with the protein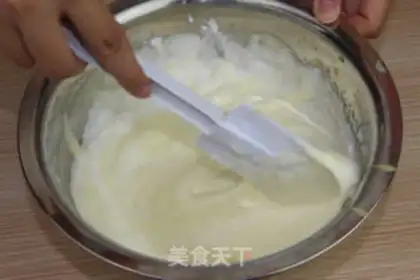
29
Add the finished protein cream to practice 9 and then add all the protein cream three times to practice 10. Medium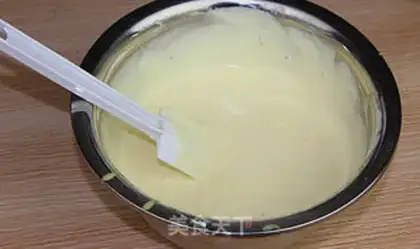
30
Full mixing until no protein cream becomes a smooth face。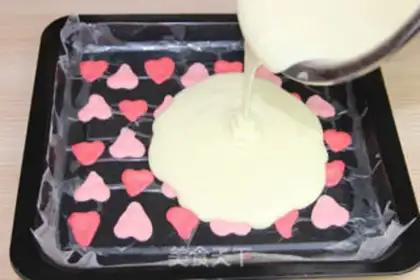
31
Put the pasta down on the baker。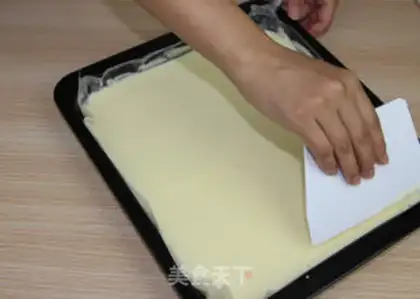
32
Scratch the surface。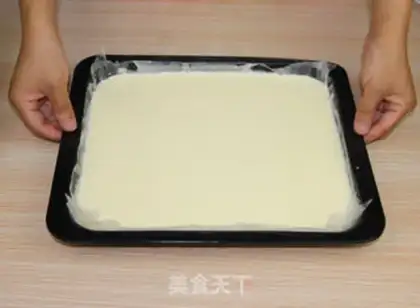
33
Knock the oven two or three times, drain the air。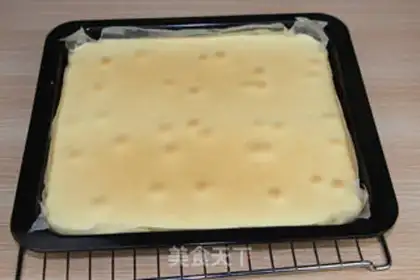
34
BREAD IT WITH AN OVEN AT 170 C° FOR 14 MINUTES AND INSERT THE TOOTHPICK INTO THE CAKE。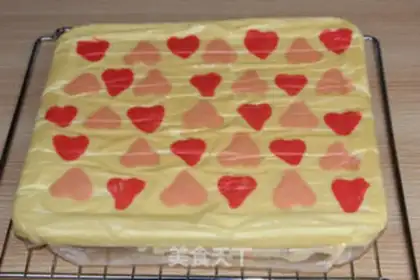
35
If there's no sticky paste, the bake is done。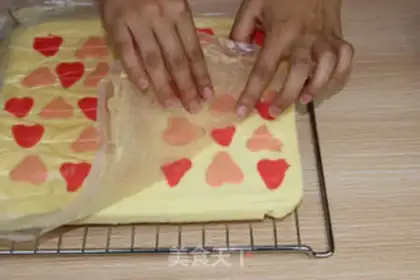
36
Tore off the face of the grill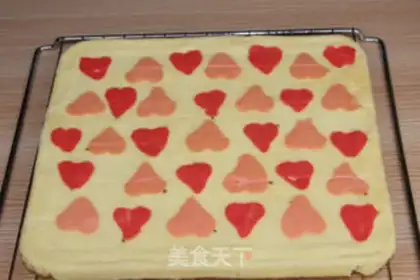
37
Tore off the face of the grill paper and then put it back on the cake body as soon as it cools。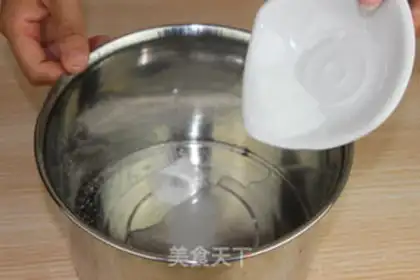
38
Cream cream for internal use: cream, sugar, and sugar are placed in a pellets of ice water。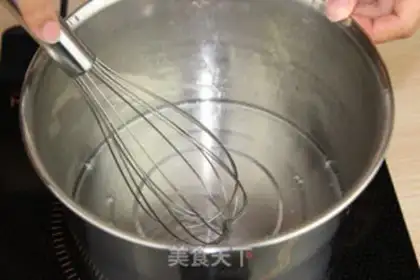
39
Together we hit hard hair。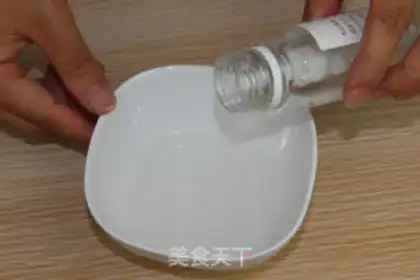
40
Manufacture of syrup: materials: rum, water, sugar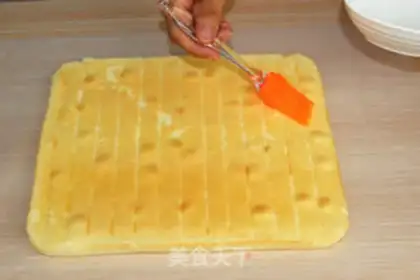
41
scratch the cake and rub it with syrup: replace the one that was originally covered with a new one, and the cake pattern flips down and tears down the grill paper on the back. and cut the edges on the front and close sides of the cake. slight knife marks were drawn on the skin of the cake with a knife at a distance of approximately 2 cm, and the whole surface of the cake was painted with a brush。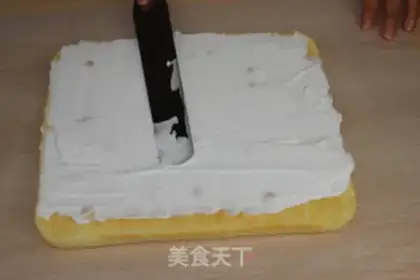
42
embedding the internal plaster: putting cream on the cake body and a layer of jam on the cream (or putting fruit around 3 cm at the front end)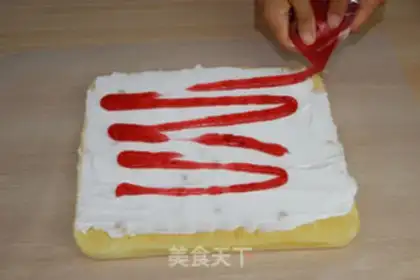
43
embedding the internal plaster: putting cream on the cake body and a layer of jam on the cream (or putting fruit around 3 cm at the front end)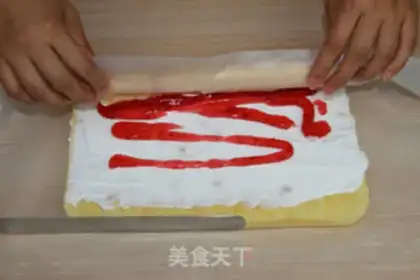
44
Rolling up the cake body: Close to the side, pick up the cake with the grilled paper。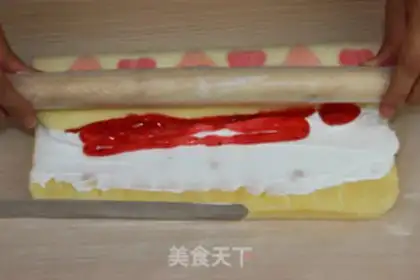
45
Pull up the cake, wrap up the fruit and press it tight。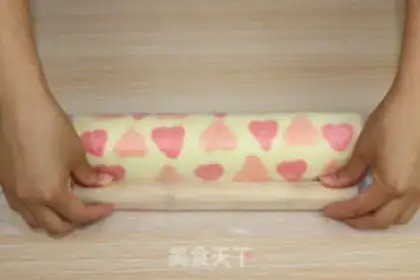
46
When the pressure is pressed tightly, the remainder of the pressure will continue。
47
Tighten both sides of the dish and put it in the freezer for more than an hour. That makes cakes and creams one and cake rolls more delicious。Colored Cake roll Make Tips
1) The decorative part can be made into any pattern or color you like!
2) Don't spread the cream filling too thick, otherwise it will be difficult to roll.
3) When rolling the cake, use a rolling pin to make it roll tighter.
4) Without the decorative part, it's just a regular cake roll, and the filling can also be replaced with meat.