Homemade green bean buds
By VicentaLakin
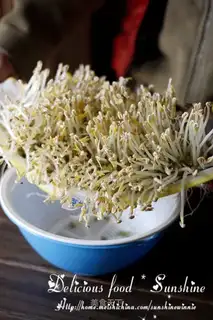
My little bear likes to grow vegetables, learns very carefully, has a forum to grow them in the rest of his work, and he says that I'm going to plant them for my sister. I'm going to plant them for my sister. We're going to buy lots of seeds on the Internet, and we're going on a long journey. In order to gain a sense of achievement in a short period of time, home-made soybean sprouts are the best and sprouts are the best. We have eaten the first round of sprouts, and today the sprouts are fine. From last year to this year, it took only a week to poignantly cross 1314, watch the sprouts of soybean and enjoy the joy of achievement. In fact, this was the second soybean sprouts, the first of which was tested with several beans, 0 per cent red beans, 50 per cent soybeans, 100 per cent green beans, it was understood, mainly because green beans were not easy to deal with long bugs, they were not usually treated later, they were resistant to pests, and if they were to grow high, they were to be bought by the seed market, so we used them all this time. It's only possible to use a filter that can fetch water, and look at what we're using today. Ha, ha, that's the second time a bear's been prepared for bean sprouts. And today I made a cold bean sprouts, and some of them were made for noodles, which are delicious, and they're so cuddly, and bears are proud to say, I think it's better than buying。
Recipe Recommendations
- mung bean appropriate amount
- qingshui appropriate amount
Steps for Homemade green bean buds
1
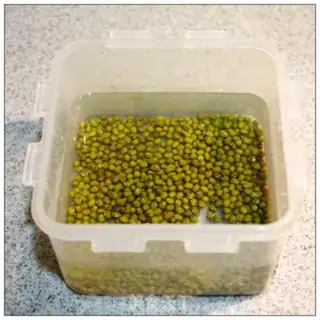
The green beans were immersed with water for one day until the green bean skin split slightly。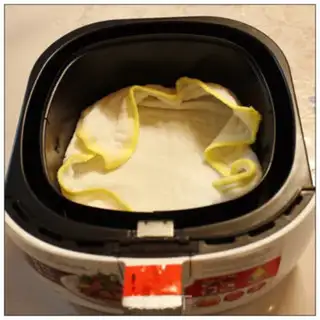
2
A wet rag on the filter。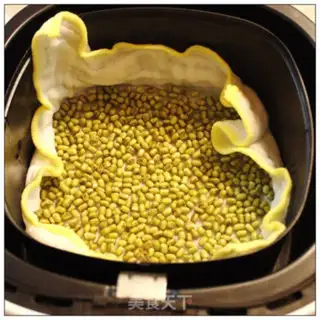
3
The green beans are evenly laid on the cloth。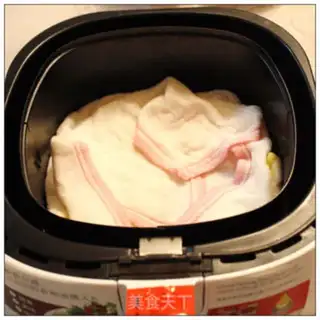
4
A further wet rag is covered and the green beans are flushed through with water and placed in the sink。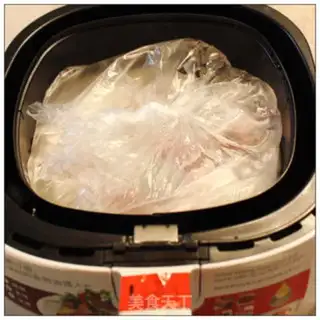
5
Put a big bag of fresh water on it, tie the knot, and put it on the green beans covered in rags。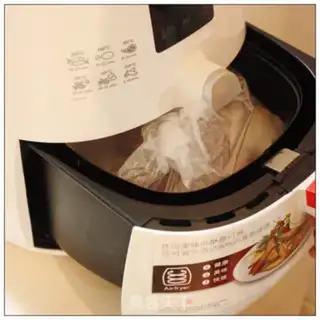
6
WE'LL PUT IT IN THE AIR FRYER。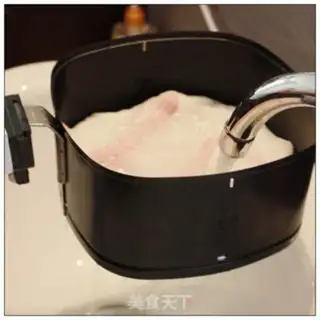
7
Take it out every day, remove it, flush it through it with fresh water, and put it in the shade。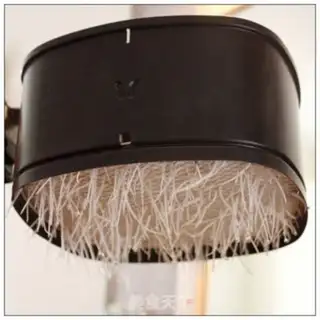
8
This is the 29th night. The root of the bean sprouts is long, but it needs to be longer。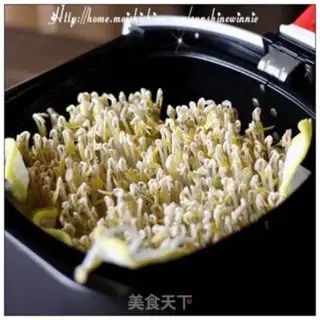
9
I haven't taken it out yet. I'm ready to take it out。
10
It's cold bean sprouts todayHomemade green bean buds Make Tips
Ingredients: Mung beans, clear water
Tools: Philips Air Fryer (any one with a drip tray that can hold water will do), two clean, absorbent cloths, one plastic storage bag
1. Place a water-filled plastic storage bag on top of the mung beans to weigh them down; this helps the bean sprouts grow more evenly and stoutly. Once filled with water, the bag will spread out evenly to cover the entire container. Don't worry, the water bag won't crush the bean sprouts; it needs to stay on top at all times, and should only be removed when rinsing.
2. Do not remove the cloth covering the bean sprouts; this includes during daily rinsing, as water should be poured through the cloth. However, the cloth must be clean; we used a new dishcloth.
3. You can certainly sprout them without an air fryer; you just need a filter tray that can hold water. Of course, you must also ensure the container is kept in the dark.
4. These bean sprouts took a total of 7 days. We soaked the mung beans on the night of December 25th and ate them at noon on January 1st. Actually, we checked on the 31st and they were ready to eat, but we didn't take them out because the next day was New Year's.