I'll cook chicken
By VicentaLakin
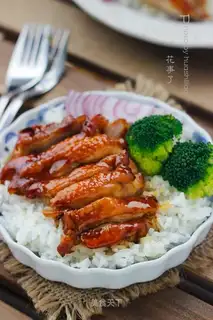
Seeing this picture, what's your first feeling? Do you have appetites? It tastes absolutely better than some fast-food restaurant, with very simple materials and practices, and no new cook in the kitchen. If you don't believe me, try it. It's delicious. I mean, I'm greedy and I'm taking pictures and I'm doing a baby sauce brush, and it's... it's getting too heavy
Recipe Recommendations
Steps for I'll cook chicken
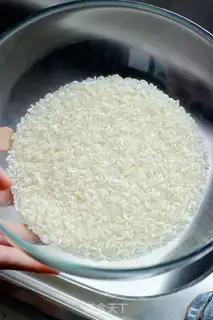
1
prepare the rice for 200g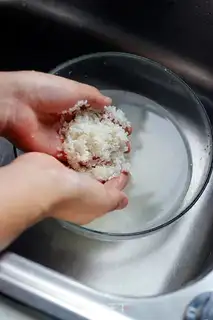
2
Sweat the grain with your hands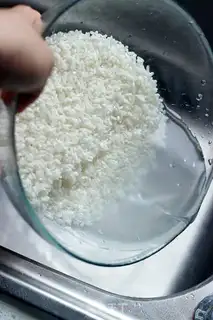
3
After repeating it many times, the water became clear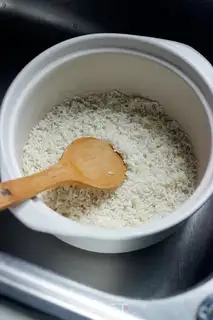
4
Water-purified grains of rice put in the sand pan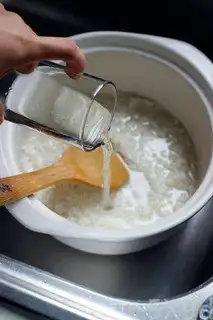
5
into 220-240ml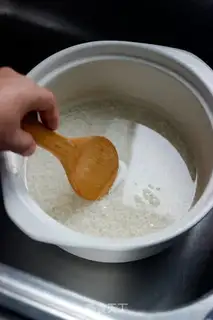
6
The rice grain is flat and the steam rice begins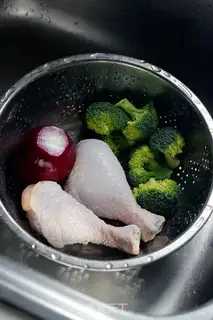
7
Get your chicken legs together and clean up the spare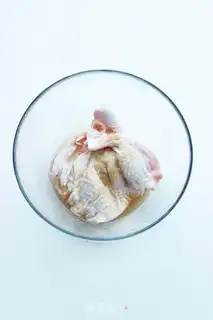
8
Chicken leg bone, wine, white pepper, salt, ginger pickles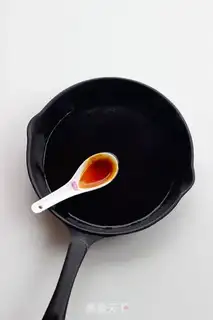
9
Creaming sauce, seafood sauce, white sugar, two spoons of water in the pot, burning sugar solution with a slight caramel fragrance, water starch and honey, thickness is sufficient (very small quantities, recommended for the smallest pot in the home)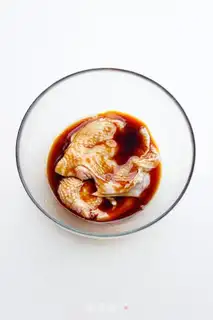
10
Pour it down in a pickled chicken leg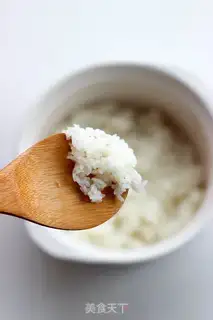
11
Cooked rice, keep it warm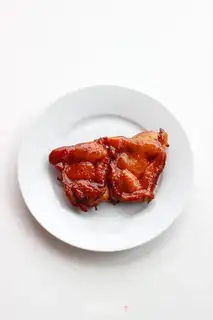
12
In the middle of the oven, about 200 degrees 15-20 minutes, the rest of the sauce is painted 3-4 times on the chicken leg during the bakingI'll cook chicken Make Tips
1.1 spoon = about 10g.
2. Regarding chicken leg preparation: For those without an oven, you can pan-fry the chicken and then return it to the sauce to coat.
3. The rice can be paired with some salad; you don't need to pair it with onions like I do (which has a strong flavor).
4. For the chicken legs, I used drumsticks; you can use whole chicken legs (thighs) as they have more meat.
5. For the teriyaki sauce, if you have mirin, remember to add 2 spoonfuls; if not, just follow my method.
6. For roasting the chicken legs, it is recommended to use a wire rack instead of a baking tray. The juices can easily carbonize at high temperatures, which affects the texture of the chicken legs.
About [Cooking a Bowl of Rice with Heart]
I didn't have much of a concept about this in the past. With household appliances becoming widespread in every home, electric rice cookers have replaced traditional, diverse methods of steaming rice. In the fast-paced life of the city, it seems we have gradually lost the joy and patience for the simple act of cooking rice in our daily lives!
The art of cooking rice comes from an article on cooking rice shared by Alvin a few years ago, combined with my own humble opinion! (Note: Personally, I think this method is more suitable for cooking small quantities, although I saw many people in Sichuan cooking rice in large iron woks when I was a child; I don't know the secret behind that.)
Rinsing Rice: The purpose is to remove the floating starch on the surface until the water is relatively clear. At this point, someone is bound to ask about nutrient loss. Alvin explained: "The main concern is the loss of water-soluble Vitamin B1. The rubbing intensity need not be too great, and the rinsing speed should be slightly faster. Since the nutrients mainly exist inside the rice grains, they are not easily lost. Exchanging a small amount of nutrient loss for rice that has distinct grains and tastes fragrant and chewy is, in my opinion, worth it."
The Pot: Alvin uses a cast iron pot, while I use a clay pot for soup here. I think any pot with a thick bottom and good heat retention is suitable for cooking rice, but the rice should not exceed 1/3 of the pot's capacity, otherwise it will affect the heat circulation!
Rice to Water Ratio: My ratio here is 1:1.1. I suggest a ratio between 1.1 and 1.2 for manual cooking. If using an electric rice cooker, you must adjust the water amount according to the keep-warm time; the longer the keep-warm time, the drier the rice becomes as it absorbs more water, so the water amount needs to be increased appropriately.
Cooking the Rice:
1. Boil over medium heat; do not cover at this time.
2. When the pot starts to bubble, stir once (make sure to stir evenly).
3. Cover the pot, turn to the lowest heat (as low as possible), stir once after 5 minutes, then cook for another 5 minutes until the moisture in the rice grains dries up. Turn off the heat and let it sit for 10 minutes. (Alvin described that during the 10 minutes of low heat, the sound of the rice and water in the pot would gradually become quieter and higher in frequency).
4. After 10 minutes, open the lid and mix thoroughly. Wipe dry the condensed water droplets on the lid, then continue to let it sit for 5 minutes. (These rounds of steaming ensure that the bottom layer of rice grains stays white and not yellow, while the texture of the rice in the whole pot remains consistent).
If you have a bag of high-quality rice, you must try the joy of cooking rice by hand