Pulled taro
By AndreRoberts
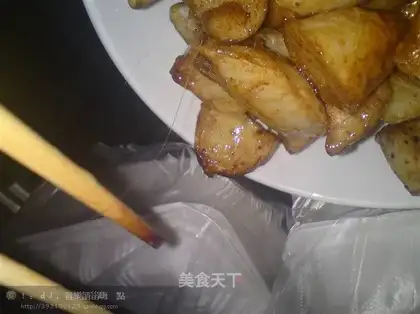
This is the first shredded vegetable I made. I saw taro at Carrefour. I didn't expect it to be allergic when peeled. Be careful ~ You can wear rubber gloves to handle it.
Recipe Recommendations
- Taro appropriate amount
- oil appropriate amount
- sugar appropriate amount
- sweetening
- fried
- half an hour
- simple
Steps for Pulled taro
1
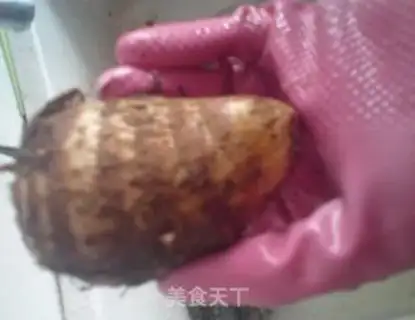
First of all, choose taro, but there is only this kind of small taro in Northeast China. It is quite nerve-racking. If you want to choose the complete one with a gap, it may be rotten parts. If the color is yellow, PS will be applied.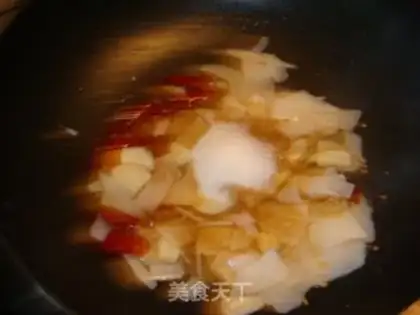
2
Secondly, use a small spoon to scrape the fur on the outside, which is similar to scraping potatoes, but it is much more difficult than potatoes. This is also the most difficult step. I am allergic to taro, so I need to wear gloves.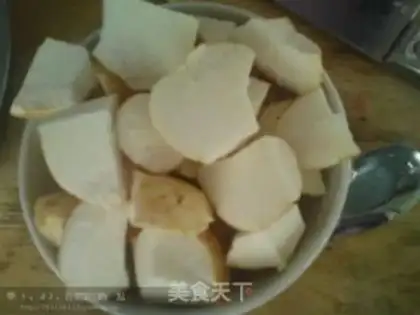
3
Then hob, or cut it into long strips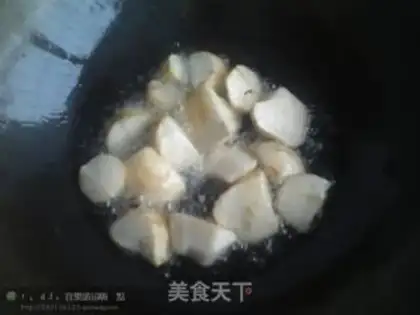
4
Put more oil in the pan than when frying, and then put the chopped taro in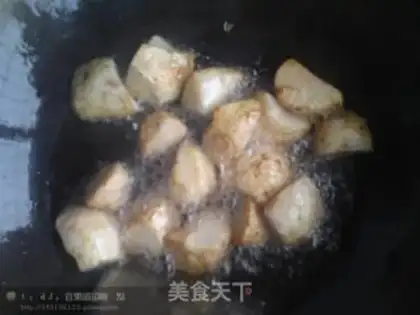
5
I fried it in two batches, but if I put a lot at once, it won't be enough to fry it through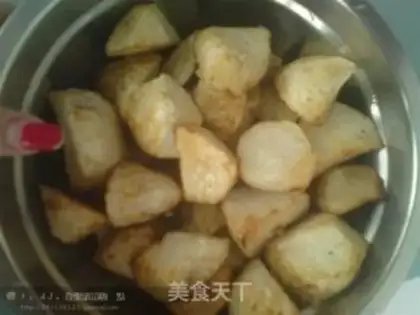
6
Here, this is fried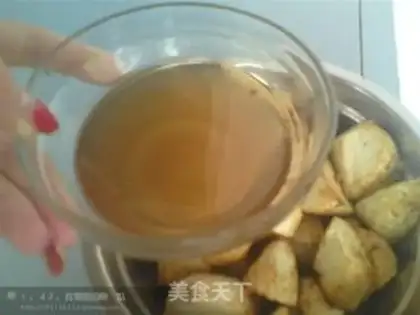
7
There is still a lot of oil in the pan. Pour half of it out of the bowl. Don't waste it for frying and stewing soup.
8
There is still some oil left in the pan. Don't let the oil temperature be too high. Add 2-3 tablespoons of sugar, or add rock sugar. Use a shovel to stir fry constantly, just fry the sugar until it is foam, as shown in the picture (never fry it to scorch, that is, the sugar does not turn yellow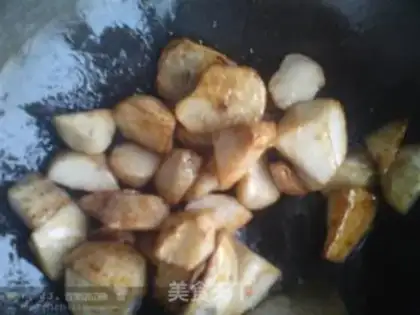
9
Finally, put the fried taro in and hang the pulp. Thin sugar coating hangs on the surface of taro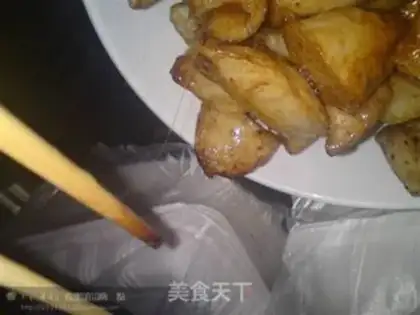
10
OK done, do you see it? I made taro that knew how to draw silk. The other bento were bought from a restaurant. I only left taro at home for me to make. I wanted to eat dinner ~