octopus balls
By CristianDach

Today, I'm dedicated to everyone. I heard that octopus meatballs are very popular at the Shanghai World Expo, but they are very expensive to buy and eat, but it's cost-effective to make them yourself.
Recipe Recommendations
Steps for octopus balls
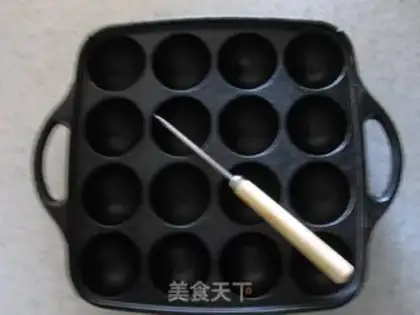
1
Props: The pot for making octopus meatballs and the iron awl for turning the meatballs should also have a brush for brushing oil. They have been broken long ago. It doesn't matter if there are no brushes. Just have a pot and awl.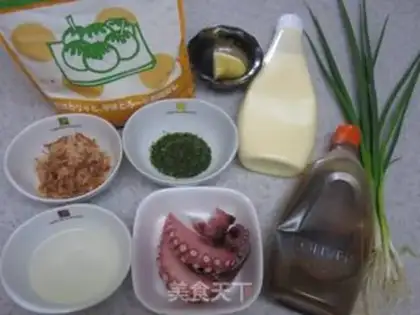
2
Ingredients (and 2 eggs).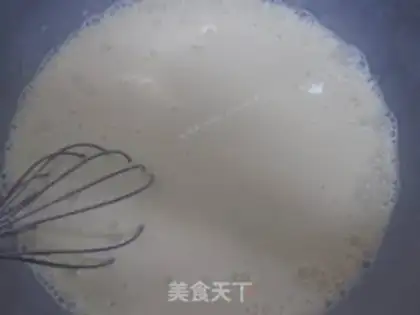
3
Place the flour, eggs and water in a basin and stir well.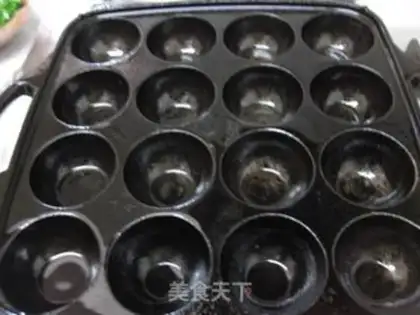
4
Light the pan on medium heat and add appropriate amount of oil to heat until the pan is hot (it is convenient to have a brush to brush the oil, so I used a napkin instead without a brush).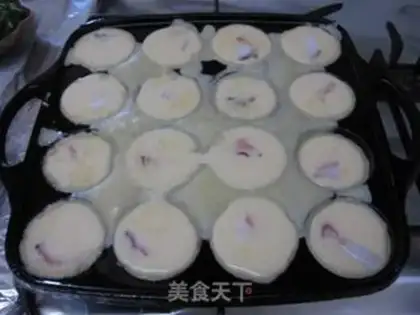
5
Lower heat, pour in the soup, and add a piece of octopus in each.
6
Sprinkle in chopped ginger and chopped green onions.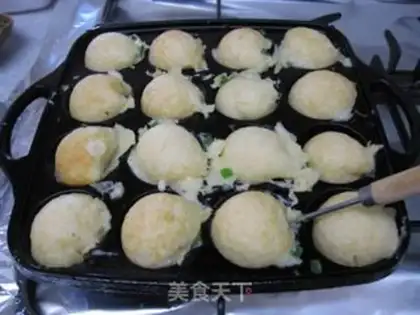
7
When the bottom is formed, turn each meatball with an iron awl (here, it must be cooked well and delicately. It is difficult at first, but it will be ready in the second pot.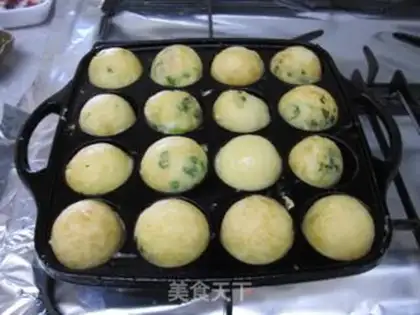
8
It becomes smoother. Keep turning the meatballs over. When the appearance becomes golden, it becomes crispy on the outside and tender on the inside.
9
Pour it on a plate, pour it with octopus meatball sauce and salad sauce, and then sprinkle it with firewood fish meal slices and Qinghai grass residue. 48 pieces were made.octopus balls Make Tips
If you can't buy octopus meatball powder, match it yourself. The following is the recipe address home.meishichina.com/space-205091-do-blog-id-166479.html