Zucchini thick cake

Soymilk is nutritious and delicious, and everyone in the family likes to drink it, but how to deal with the bean dregs produced by drinking soymilk every day is a nerve-racking matter. It's too wasteful. Pancakes take a long time. Therefore, with the help of the electric pressure cooker, the pancake method was replaced. Although the finished product was still a pancake, it greatly saved the time spent standing in front of the kitchen table pancake.
Recipe Recommendations
- zucchini one
- bean dregs a
- flour appropriate amount
- eggs within 1~2
- salt appropriate amount
Steps for Zucchini thick cake
1
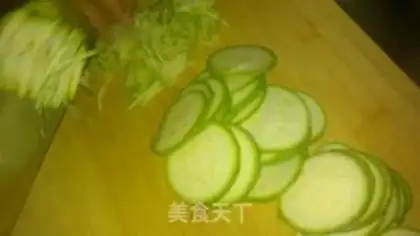
Wash the zucchini and cut it into thin threads. The thinner the better. The cake made in this way will be more muscular. After cutting, put it into a basin (I put it directly in the non-stick pan of the pressure cooker, which takes up less basin and reduces waste of batter) Sprinkle appropriate amount of salt on the shredded zucchini, mix well and let the salt eat out the water in the zucchini
2
To deal with bean dregs, I filter out the bean dregs after beating the soy milk, and use a sieve to control the moisture in the bean dregs as much as possible
3
Add one egg into the shredded zucchini that you have just mixed and stir well. If you want to increase nutrition or if the amount of bean dregs is relatively large, add two eggs.
4
Pour in the water-controlled bean dregs and mix well again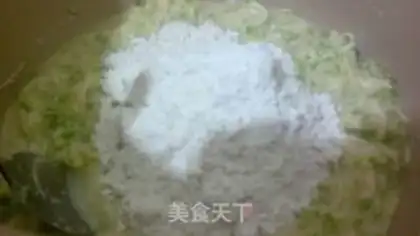
5
Sift in the flour into the batter mixed in the previous step. It is recommended to stir while sifting. The amount of flour depends on the water absorption capacity of each flour, and stir until the batter is thick. (Be careful not to use too little flour, otherwise the cake will be very fragile and will not form)
6
Stir until you feel clearly struggling. Put it into the electric pressure cooker, turn on power, select the rice program, and finish it when the heating program is over
7
There will be crispy skin on the edges and bottom, slightly darker in color and good taste
8
Leave it cool a little, turn upside down and buckle the cake into a plate and cut into slices.