A casserole with green bean buds
By VicentaLakin
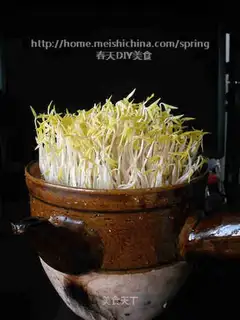
There's always a desire to find a container that's completely light-shielding, so that green bean sprouts can be improved, and the cookpot is a good thing, and eight is too small, and we can't use it every day. One day, when the cupboards were lifted, a long, useless casserole appeared in the brain, and, ah, it was it -- it was the right size, it had the cover, it had the safe in the cupboard. So it was washed clean, and four green beans were taken in, watered, covered, and put in the cupboard, and the journey of all-shielded casseroles began. And I'm proud to say that this casserole is made of beans of better quality than I was made of other methods. At the harvest, the finished body was good, colorful, beautiful, of course, better. My bean sprouts began at the end of April and were completed in mid-May because of lower temperatures and therefore longer. It won't take that long in summer。
Recipe Recommendations
Steps for A casserole with green bean buds
1
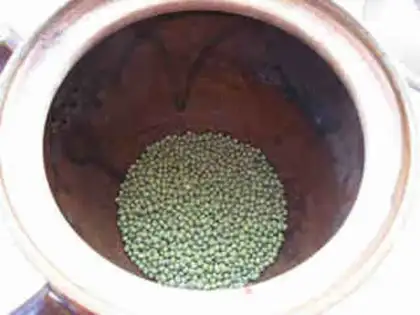
The casserole is clean, no oil. Grab four green beans, wash them, put them in the casserole。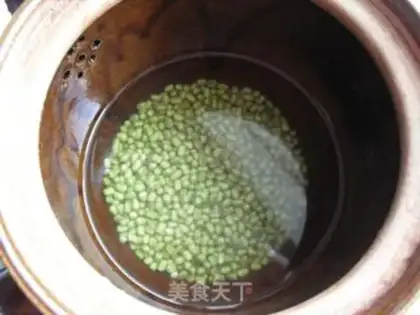
2
Put an appropriate amount of bubble in for 12 hours。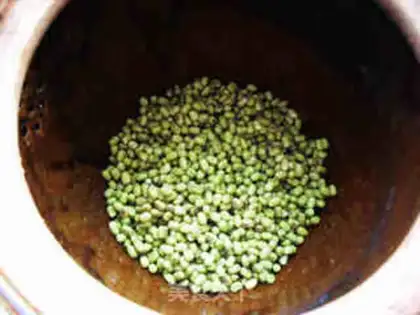
3
The green beans expand and force the water to dry。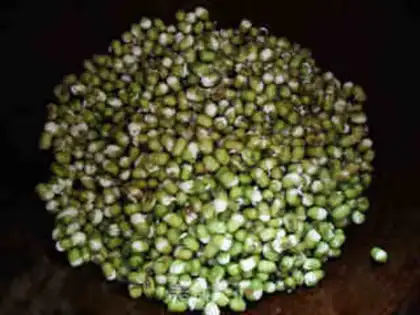
4
The water is flushed early in the morning and late in the evening, each time after which the water in the casserole is drained. At the very least, it is important to make sure that water is poured out, that more is poured, and that the gas from the beans is washed out. Day three。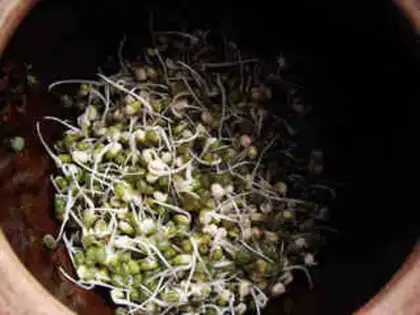
5
Day four。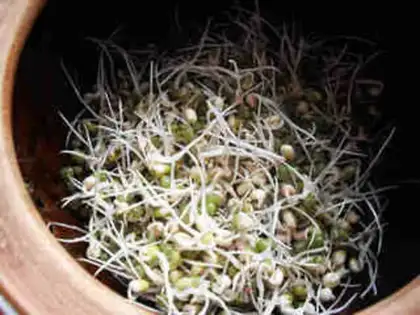
6
Day five。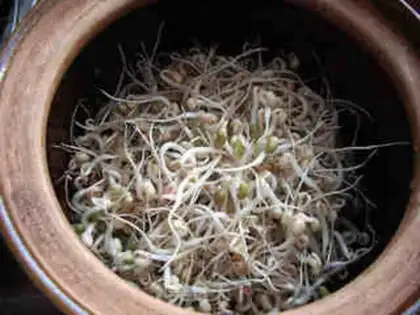
7
Day six。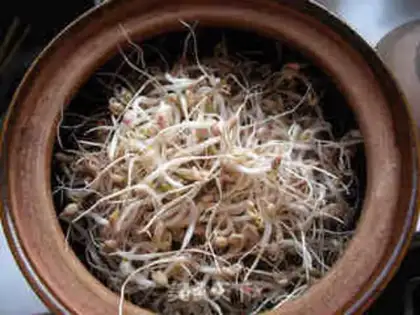
8
Seventh day。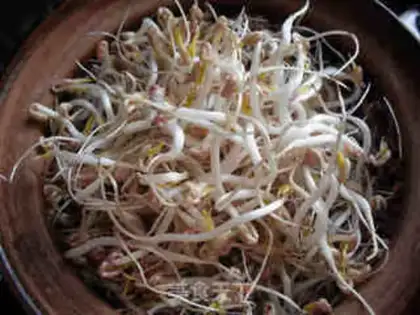
9
Day eight. You can start eating。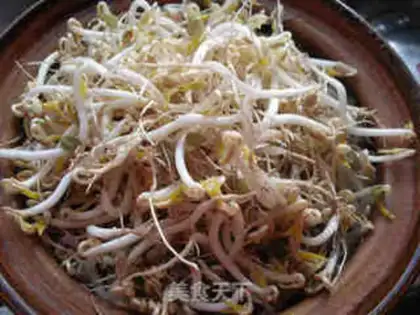
10
Day nine。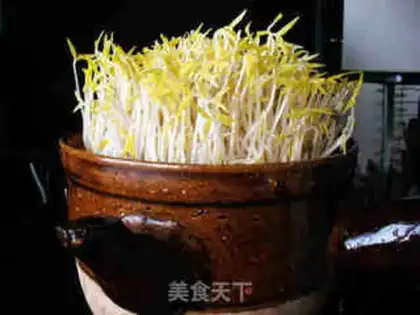
11
Eleventh day。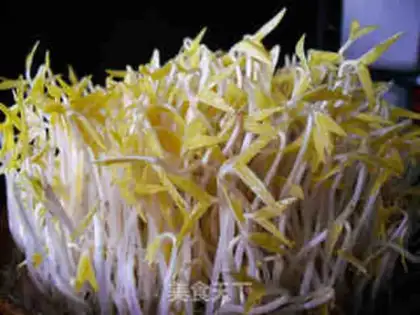
12
Near view。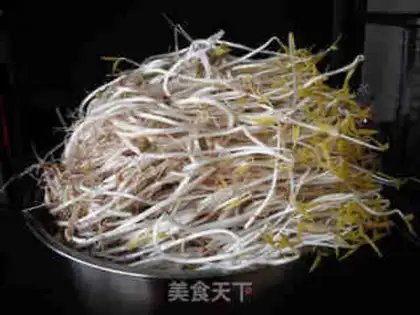
13
Harvest。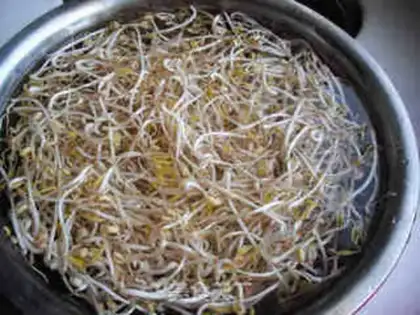
14
Clean it up. Get rid of the skin and the embryos。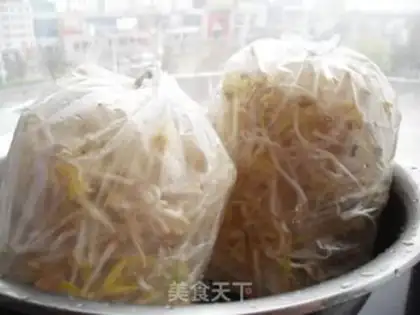
15
Packed in a fresh bag and refrigerated in a refrigerator, which can be kept for about a week。
16
Good sprouts。