chestnut pancake
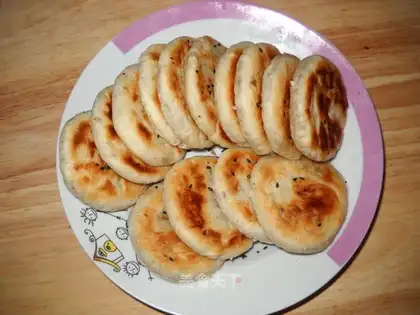
My husband and I both like to eat chestnut cakes, but I don't want to queue up outside to buy them all the time. One is that it's unsanitary.(They use the money hand to grab chestnut cakes...) Besides, there are too many people, I don't want to wait. But after searching many websites, I couldn't find it. I thought, why don't you just do it yourself? I like doing it myself. Rich imagination!!!
Recipe Recommendations
- low-gluten flour appropriate amount
- vegetable oil appropriate amount
- lard appropriate amount
- sugar appropriate amount
- water appropriate amount
- chestnut appropriate amount
- sesame appropriate amount
- sweetening
- crisp
- several hours
- senior
Steps for chestnut pancake
1
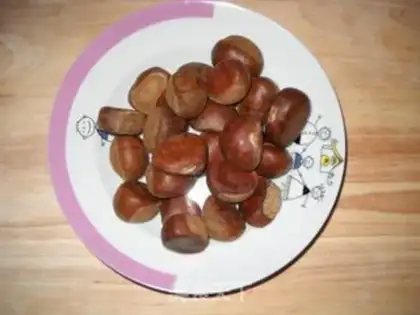
If chestnuts are to be raw, you can use scissors to cut the chestnuts from the middle and peel them.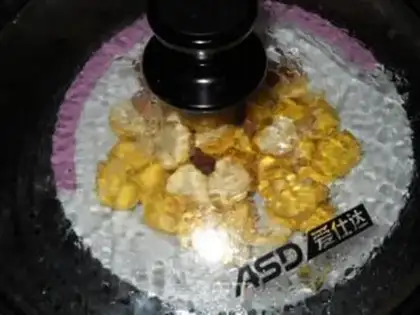
2
The film in the middle may not fall off easily when peeling, but it doesn't matter, it will be easy to peel off when steaming. Put on the steamer for about half an hour. Observe while steaming until cooked and soft.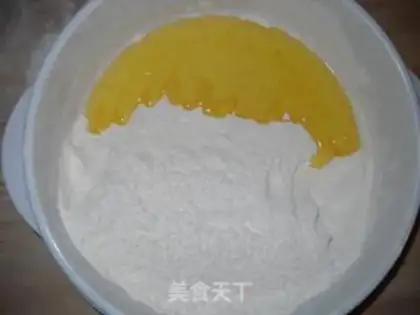
3
When steaming the chestnuts, you can mix the dough and knead all the ingredients of Material 1 into dough. No matter which dough you use, it should be soft. (You can also use lard for this. I use vegetable oil because I am afraid of getting cerebral thrombosis if I eat too much lard...)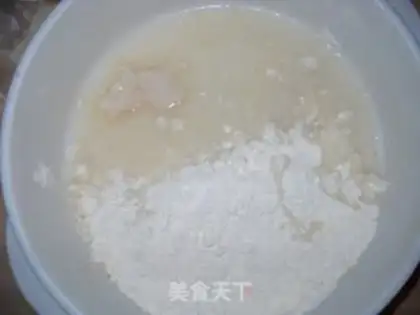
4
Knead all the ingredients of Material 2 into dough, preferably with warm water. Makes the dough soft. (Remember to soften the dough)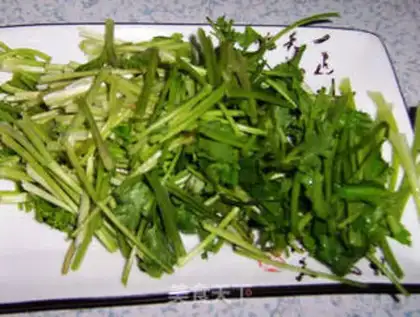
5
Kneak the dough until smooth and place it in a crisper. You can also cover it with plastic wrap. Or a wet towel (dough 1 is larger than dough 2).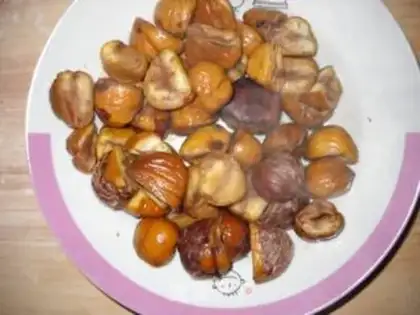
6
I left an uncut chestnut to prove that steaming and peeling is easier than peeling raw. Remove the film left on the chestnuts while it is hot.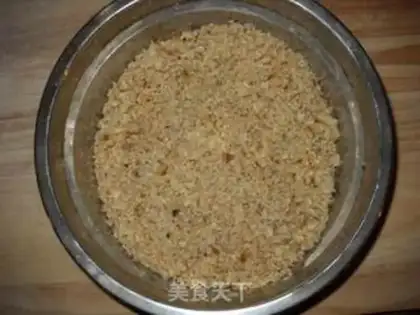
7
Crush the chestnuts while they are hot and into powder. (You can also place chestnuts on the panel and crush them with a rolling pin).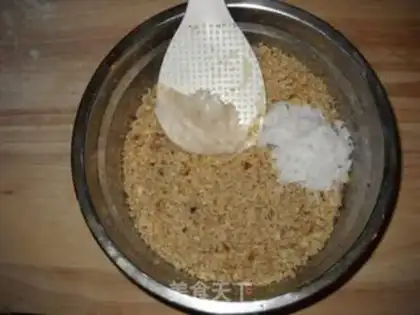
8
Add lard and sugar to chestnut powder. Add according to your taste. (Remember that chestnuts are inherently sweet)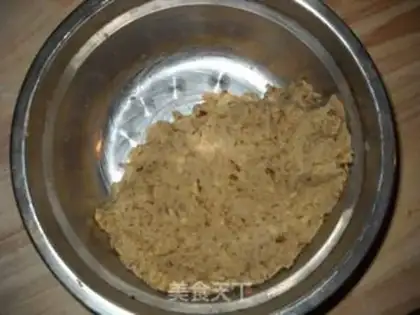
9
Stir together chestnut powder, lard, and sugar until well.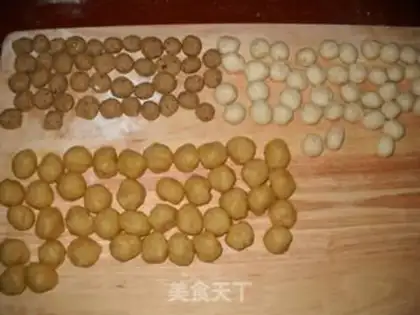
10
Divide dough 1, dough 2, and filling into equal amounts of small doses.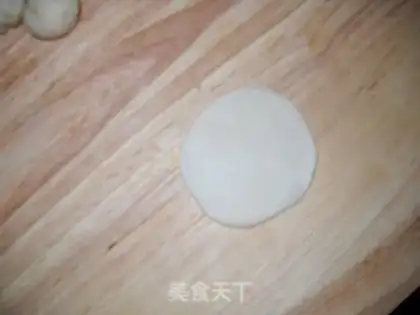
11
Take a small dose of Dough 2 and knead it into slices, or roll it into slices with a rolling pin (not too thin).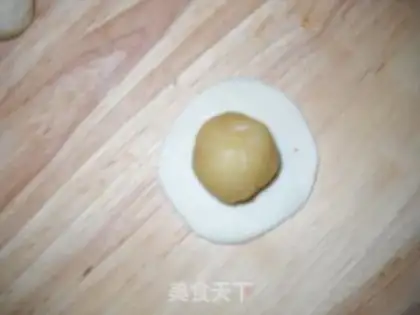
12
Place small pieces of dough 1 on top of dough 2.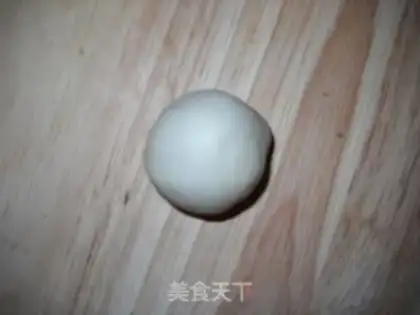
13
Wrap the small amount of dough 1 with the small amount of dough 2 (the skin must be pinched tightly because it is oily).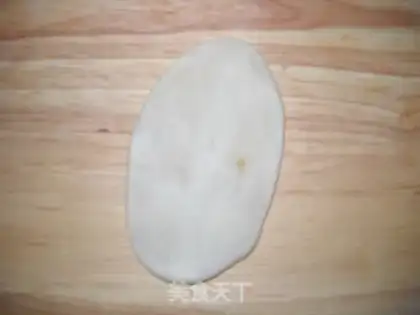
14
Roll out the wrapped small dose into a long strip.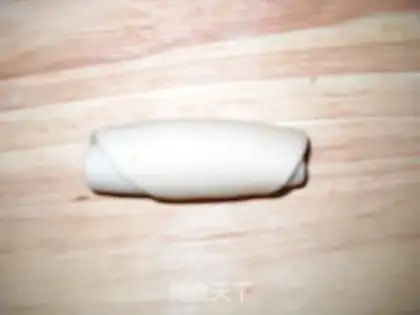
15
Roll it up along the edge and stand for about 15 minutes (make other small doses during this period and place them in the order they are completed).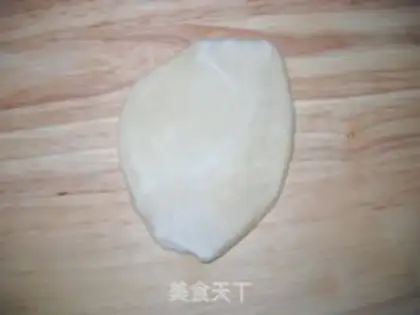
16
After standing still for 15 minutes (I didn't look at the time, I probably finished making the other small doses), continue to roll the rolled small doses into long strips in a diagonal direction.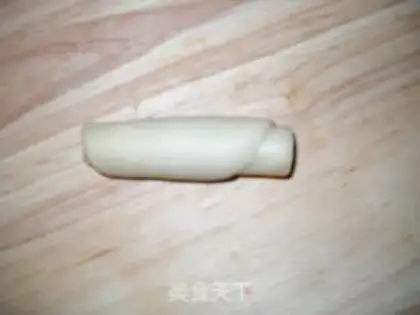
17
Continue rolling along the edge.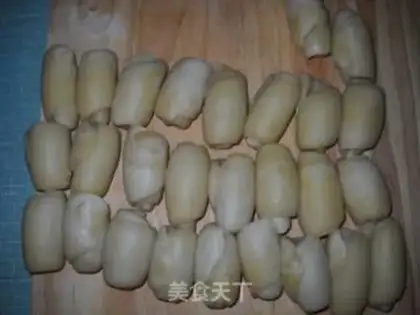
18
Still again, as shown in the picture. Use in order.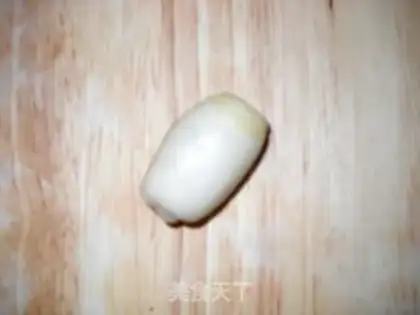
19
(Remember to use the small doses in order, as it takes time to rest.) Take the first small dose.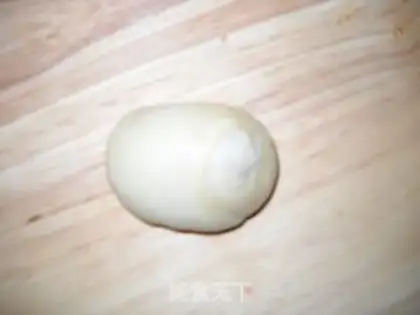
20
Press the rolled and static small dose flat (stand the rolled small dose on the panel and press it down obliquely. It will be different).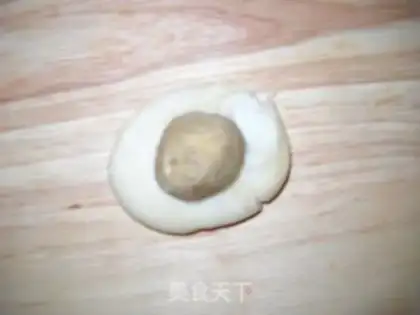
21
Place the chestnut filling on a flattened small dose.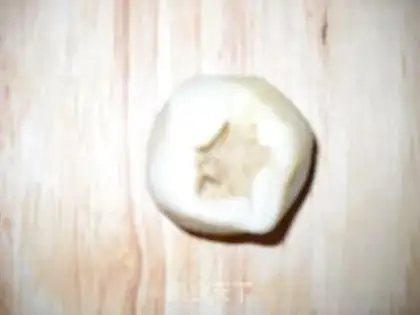
22
When you close your mouth, remember to squeeze it tightly, otherwise it will leak out at the back, which will be very troublesome.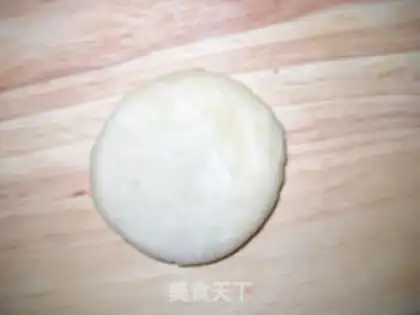
23
Press the small dose of filling flat,(Don't put the mouth on the side, make sure it is under to prevent the filling from coming out).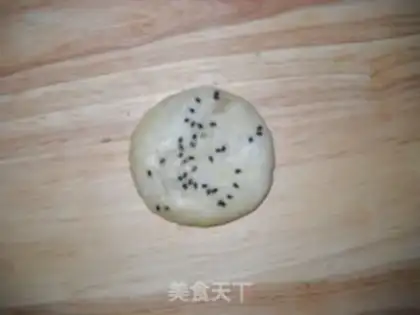
24
Press sesame seeds on the top and bottom of the chestnut cake.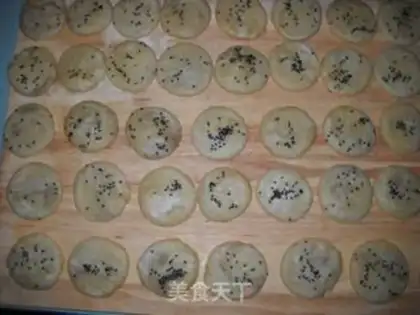
25
I've done a lot.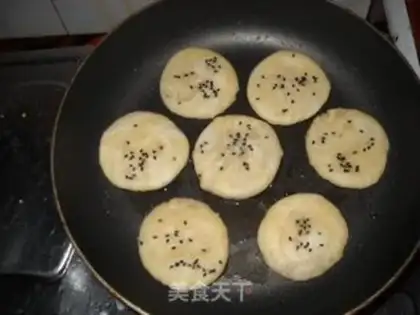
26
I don't have that kind of double-sided electric baking pan at home. I use a pan. Not bad. Use a brush to grease the pan before putting it into the pan (I use vegetable oil, I don't have a brush at home, I use a wooden shovel.) Remember to use a low fire.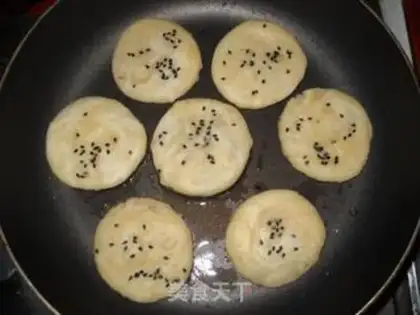
27
During this period, the chestnut cake will absorb the oil, observe more and brush the oil...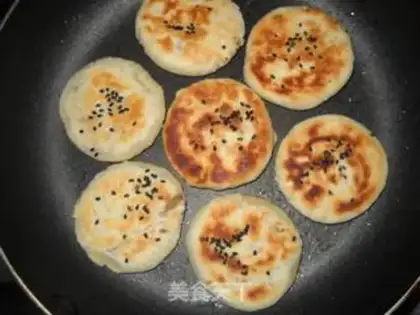
28
Keep the fire low for about 3.4 minutes, turn it over. (Remember to brush oil on the cake before turning, and it will absorb all the oil after turning, so remember to brush oil again).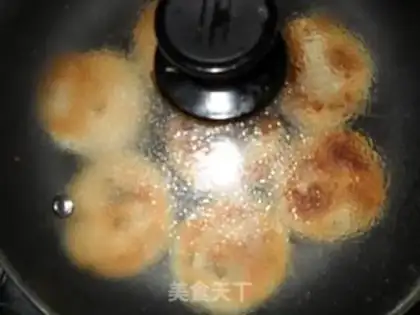
29
Because it is a small fire, the cake will not be crisp if it is a large fire., Make sure you wait for the chestnut cake, and you can cover it with a lid during this period.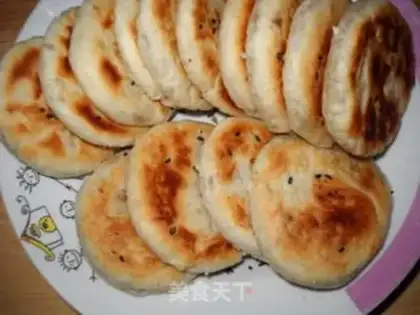
30
After two or three minutes, it was okay. After eating it, my husband said it was good. This definitely has no preservatives or flavors, haha, just start it.chestnut pancake Make Tips
I used to always see chestnut kernels for sale at the supermarket, but when I went to buy them today, they were gone. It's more convenient to just buy raw chestnut kernels directly. If you find rolling small dough pieces troublesome, you can just make one big piece of dough and wrap the filling directly. I think you could use an oven as well.