Creating chocolate roses is a delightful way to combine culinary artistry with edible beauty. Perfect for decorating cakes, gifting, or simply indulging, these delicate treats are easier to make than they look. Here’s a simple guide to crafting your own chocolate roses.
### Ingredients & Tools
You’ll need: high-quality melting chocolate (dark, milk, or white), a microwave or double boiler, silicone rose molds (or a small piping bag), and a toothpick. Optional: food coloring for white chocolate, or cocoa powder for dusting.
### Step-by-Step Instructions
1. Melt the Chocolate: Chop chocolate into small pieces. Melt in 30-second intervals in the microwave, stirring until smooth. Avoid overheating to prevent seizing.
2. Prepare the Mold: Lightly grease silicone rose molds with oil (if not non-stick) or pipe a thin layer of melted chocolate into each petal shape, using a toothpick to spread evenly.
3. Form the Petals: For the outer petals, pipe larger circles, spiraling inward. For inner petals, use smaller amounts, layering 2-3 petals per rose. Chill in the fridge for 10-15 minutes until firm.
4. Assemble the Rose: Gently pop the hardened petals from the mold. Start with the smallest inner petal, layering larger petals around it, overlapping slightly to mimic a natural rose. Secure with a dab of melted chocolate at the base.
5. Finish & Decorate: Chill the assembled rose for 5 minutes to set. Dust with cocoa powder, sprinkle edible glitter, or leave it plain for a classic look.
### Tips for Success
- Use tempered chocolate for a glossy finish and better texture.
- Work quickly but patiently—chocolate hardens fast!
- Experiment with different colors (e.g., pink or red with food coloring) for vibrant bouquets.
With practice, you’ll create stunning, edible chocolate roses that impress any crowd. Happy crafting!
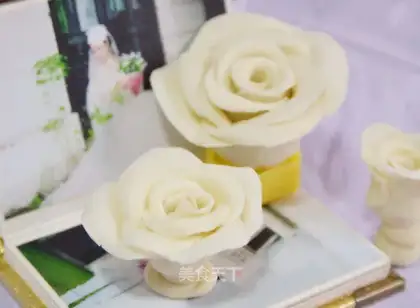 Chocolate roses"
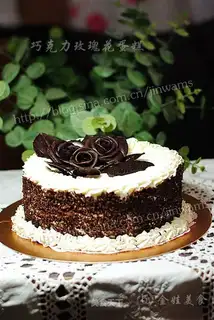 Chocolate rose cake"
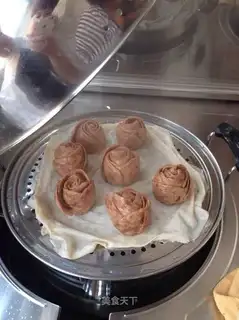 Chocolate rose buns"
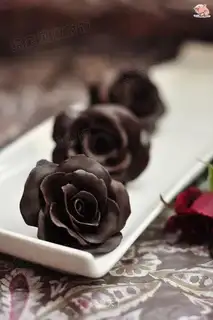 Chocolate roses"
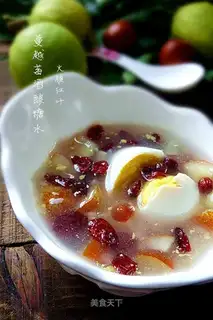 Cranberry sugar"
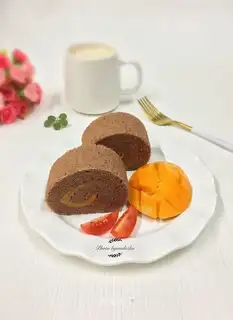 Mango cake rolls"
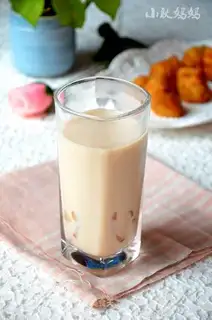 Taco milk tea"
 Egg and ham rolls"
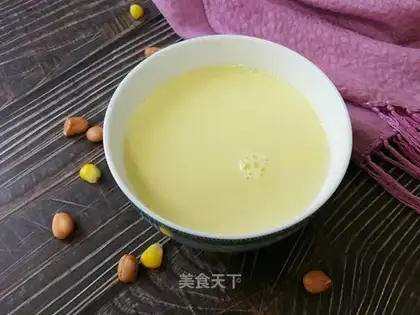 Peanut corn juice"