Creating chocolate roses is a delightful way to combine baking artistry with edible beauty. Perfect for decorating cakes, gifts, or enjoying as a treat, these roses are simpler to make than they look. Here’s a basic guide to get you started.
First, gather your supplies: high-quality melting chocolate (dark, milk, or white), a double boiler or microwave, a small paintbrush, and a rose mold (or parchment paper for freehand shaping).
Begin by melting the chocolate smoothly—either over simmering water or in 30-second microwave bursts, stirring to avoid burning. Let it cool slightly until thick but still fluid.
For molded roses: Pour chocolate into the rose mold, ensuring all crevices are coated. Tap gently to remove air bubbles, then chill for 10–15 minutes until firm. Pop out the petals and assemble layer by layer, starting with the smallest center petal and overlapping larger outward petals.
For freehand roses: Spread a thin layer of melted chocolate onto parchment paper in a teardrop shape for the center. Add overlapping petals around it, each slightly larger, then chill until set. Use a knife to carefully lift the rose from the parchment.
Let your creativity bloom—experiment with colored chocolate or dust with edible glitter for extra elegance. With practice, you’ll craft stunning, delicious roses to impress!
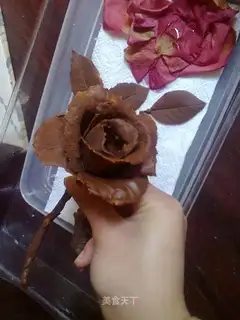 Chocolate roses"
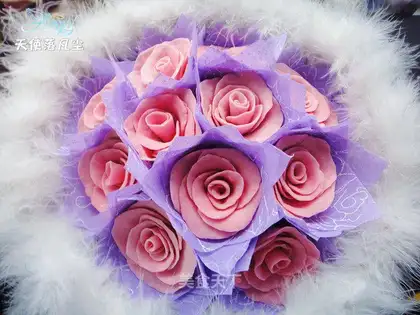 Chocolate Rose Bouquet"
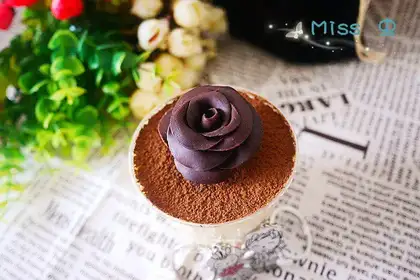 Chocolate roses"
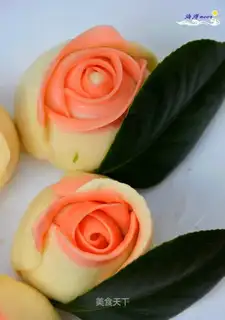 Chocolate rose bag"
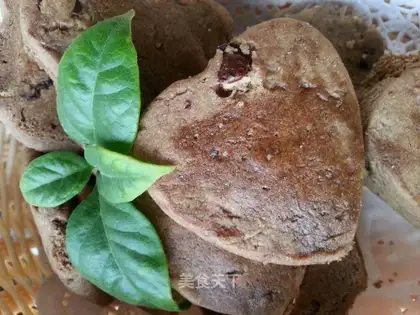 Rose chocolate cookies"
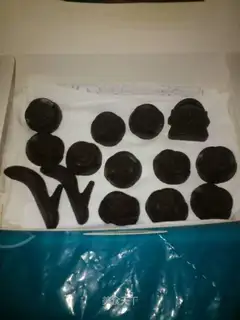 Homemade rose model chocolate"
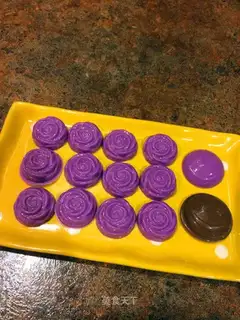 Rose chocolate"
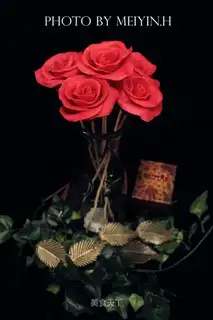 Chocolate roses"
 Banana muffins"
 Taste and cologne"
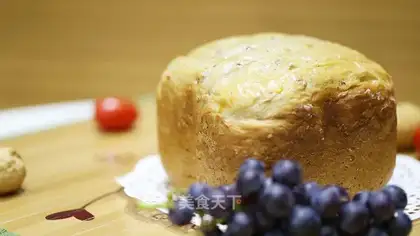 Blueberry pecan toast"
 Korean chili seaweed fried rice"
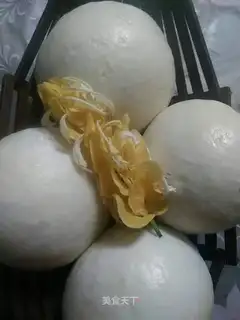 ♪ A sweet, sweet fragrance ♪"
 Black-middled bean horns"
 Spicy potatoes"
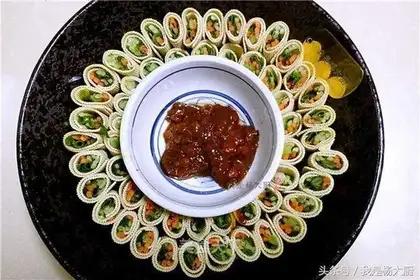 Peacock tofu"
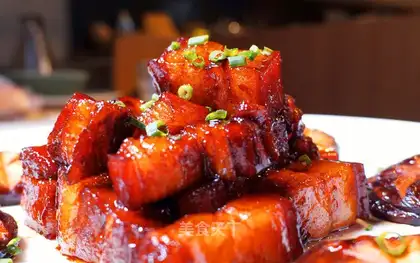 Beer, mushrooms, red meat"
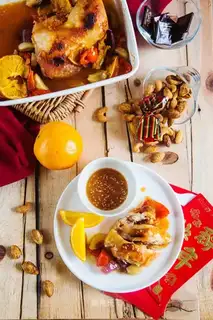 Orange chicken leg"