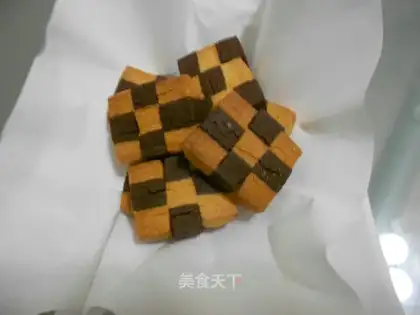
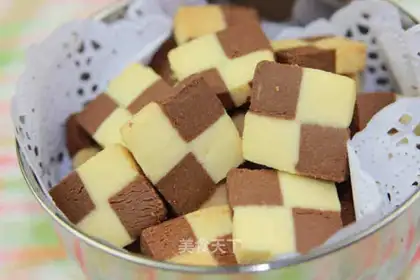
Checkerboard cookies, with their striking black-and-white (or colorful) patterns, are as delightful to look at as they are to eat. Creating these treats is simpler than it seems—just follow this step-by-step guide.
Ingredients & Tools:
You’ll need two batches of cookie dough: one plain (vanilla) and one cocoa powder or food-colored (chocolate). Equal parts (e.g., 2 cups each) ensure balanced patterns. Essential tools include a ruler, bench scraper, and parchment paper.
Step-by-Step Instructions:
1. Prepare Dough: Make your favorite shortbread or sugar dough recipe, dividing it into two. Add cocoa to one batch and a drop of food coloring (if using) to the other. Chill both for 1 hour to firm up.
2. Shape Logs: Roll each dough into a 1-inch thick rectangle. Cut each into 3 equal strips. Assemble alternating colored strips (e.g., white-chocolate-white) side by side, pressing gently to adhere.
3. Create the Checkerboard: Wrap the assembled log in parchment, pressing firmly to seal. Chill for 30 minutes. Slice into ¼-inch thick rounds—each slice will reveal a perfect checkerboard!
4. Bake & Enjoy: Place slices on a baking sheet, bake at 350°F (175°C) for 10–12 minutes until golden. Cool completely, then store in an airtight container.
Tips: For a 3D effect, use three dough colors (e.g., vanilla, chocolate, strawberry). Adjust baking time based on your dough thickness. These cookies make festive gifts or party treats—get creative with colors and shapes!
 plaid biscuit"
 Grid cookies"
 Milk grid cookies"
 Double-coloured Chessies"
 Garlic fried eggs"
 It's a family thing"
 Cheese pizza"
 Butter puff"