Growing mung bean sprouts at home is simple, cost-effective, and rewarding. With just a few basic steps, you can enjoy fresh, crispy sprouts in as little as 3–5 days. Here’s a comprehensive guide to get you started.
Step 1: Selecting and Soaking the Beans
Begin with 1/2 cup of dry mung beans, ensuring they are unbroken and free of debris. Rinse them thoroughly under cold water, then soak in a bowl with 2–3 cups of water for 8–12 hours (or overnight). This softens the beans and kickstarts germination.
Step 2: Draining and Rinsing
After soaking, drain the water completely. Transfer the soaked beans to a large jar or a sprouting tray, covering them with a breathable lid or cheesecloth to allow airflow. Rinse the beans 2–3 times daily with cool water, draining each time to prevent excess moisture, which can cause rotting.
Step 3: The Sprouting Process
Place the jar in a dark, well-ventilated area, away from direct sunlight. Rinse and drain the beans as scheduled—morning and evening works best. By day 2–3, tiny white sprouts will emerge. On day 4–5, the sprouts should reach 2–3 inches in length with crisp, yellowish tails.
Step 4: Storing and Using
Once sprouted, rinse them one last time and spread on a towel to air-dry slightly. Store in an airtight container in the refrigerator for up to a week. Use them in stir-fries, salads, or soups for a nutritious crunch.
With minimal effort, you’ll have pesticide-free, flavorful sprouts ready to elevate your meals!
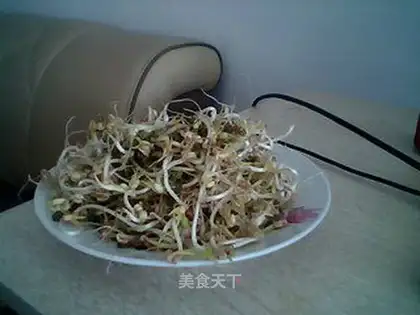 Spontaneous mung bean sprouts"
 Potato cheese"
 Miyagi tofu"
 Tomato donkey"
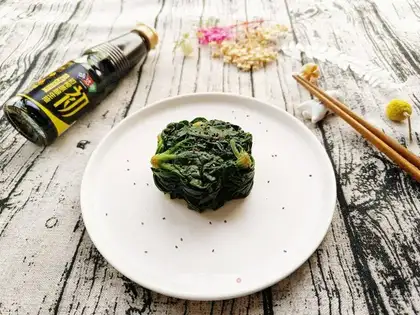 Spicy spinach"
 Peaches"
 Fry"
Fry" Olympus"
 It's a lot of pork"
 Eggs made from cucumbers"
 It's self-absorbed"
 Red burn ribs"
 Mongol roasted lamb leg"
 Five-flower cabbage"
 Sesame peanuts"
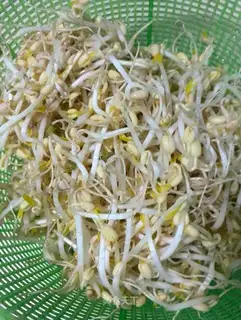 Auto green bean sprouts"
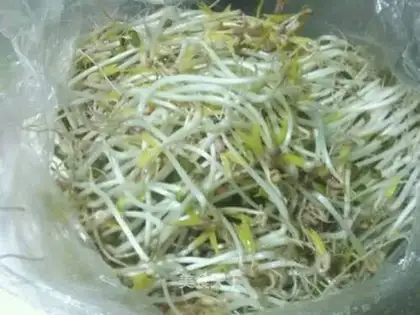 Auto green bean sprouts"
 The spontaneous green bean sprouts"
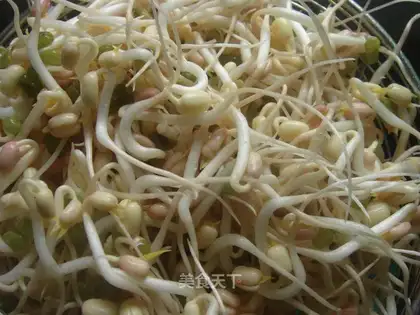 mung bean sprouts"
 stir-fried beef with bean sprouts"