Creating a car-shaped cake is a fun way to celebrate birthdays or special occasions. Here’s a step-by-step guide to help you bake and decorate a delicious car cake.
First, bake two rectangular cakes (9x13 inches) and let them cool completely. Use a serrated knife to cut one cake into the car’s body (a rectangle with slightly rounded edges) and the other into the hood and trunk (smaller rectangles). For the roof, cut a smaller rectangle and shape its front to slope downward.
Next, assemble the cake with frosting as “glue.” Secure the body, hood, trunk, and roof together, then fill any gaps with extra frosting. For wheels, use round chocolate cookies or cut circles from a third cake layer, attaching them with toothpicks for stability.
Now, decorate! Spread a thin layer of frosting over the entire cake to create a “crumb coat,” then chill for 30 minutes. Apply a final smooth layer of your desired color (e.g., blue, red, or yellow). Add details using piping bags: draw windows, headlights, and door handles with black or white frosting. For a 3D effect, use small candies for headlights and windshield wipers.
Finally, let your creativity shine! Add racing stripes with colored frosting, a license plate with edible letters, or even a tiny paper flag. Serve and enjoy your homemade car cake—sure to impress both kids and adults!
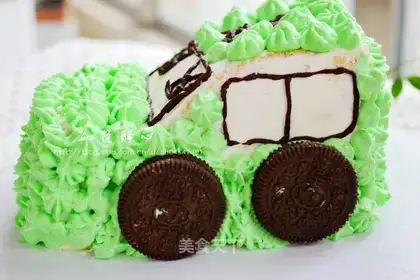 Car cake"
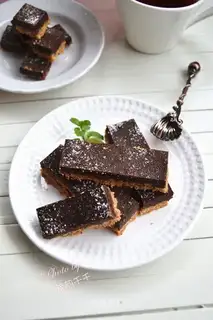 A walnut chocolate bar"
 Peach glue, silver ear, snowline"
 Fresh squid Mexican salad"
 And a steak"
 Chicken Leg Burger"
 The salad of the veggies"
 Xinjiang"
 Spicy noodles"
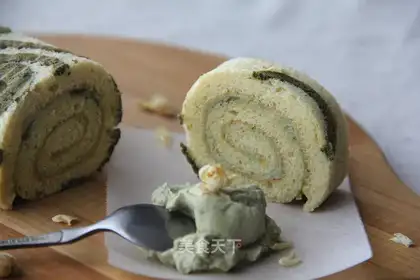 Jasmine Cake roll"
 Potato Suvere"
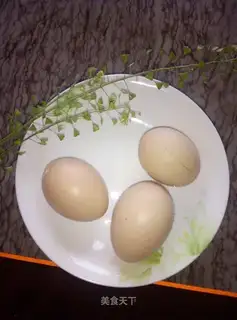 I'll make some eggs"
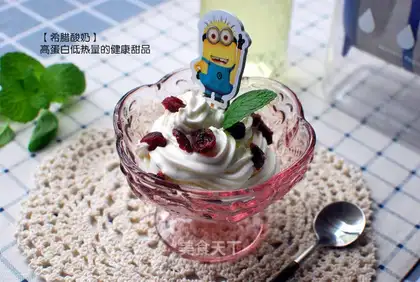 Greek yogurt"
 Gon's cookies"
 Dry pan ribs"