Rendering lard, the process of converting pork fat into pure, shelf-stable cooking fat, is a timeless culinary skill. Here’s a detailed guide to mastering it.
Step 1: Prepare the Fat
Start with high-quality pork fat, known as "fatback" (the hard layer from the back) or leaf lard (from around the kidneys), which yields a milder flavor. Cut the fat into small, even cubes (1–2 inches) to ensure even rendering. Avoid lean meat, as it can cause the lard to spoil faster.
Step 2: Low and Slow Cooking
Place the fat cubes in a heavy-bottomed pot or Dutch oven. Add a small amount of water (2–3 tablespoons) to prevent scorching during the initial heating process. Cook over low heat (250–275°F or 120–135°C), stirring occasionally. The fat will gradually melt, releasing liquid gold while leaving behind crispy bits called "cracklings."
Step 3: Strain and Store
Once the cracklings turn golden brown and the fat stops bubbling (after 1–2 hours), remove the pot from heat. Strain the hot lard through a fine-mesh sieve or cheesecloth into a clean, airtight container. For extra clarity, strain it a second time.
Storage Tips
Store lard in the refrigerator for up to 3 months or freeze for up to a year. Properly rendered lard is odorless and ideal for frying, baking, or sautéing, adding a rich, flaky texture to pastries and savory dishes.
This simple method ensures a pure, versatile fat that elevates home cooking.
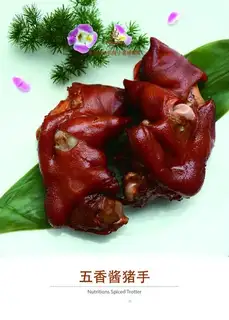 Five fragrance pig hands"
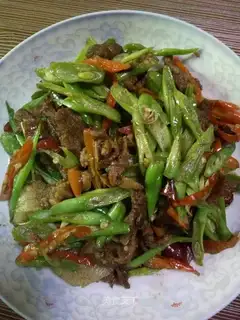 Wire pepper"
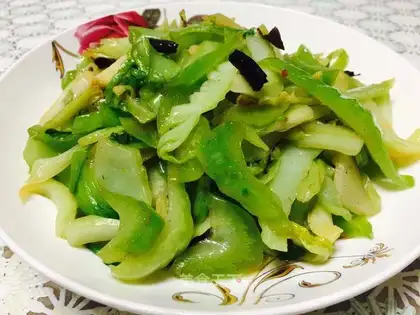 It's always a pot of mustard"
 Take the chicken leg fort"
 Peanut cheese"
 Chocolate lava cake"
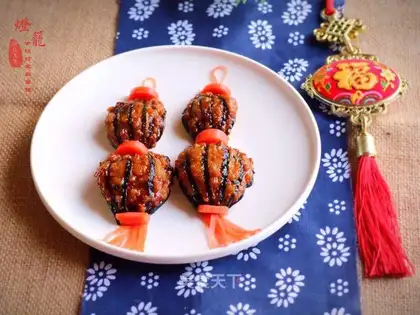 Red lantern"
 Samba fried rice"
 Favorite cauliflower box"
 Blueberry sauce"
 Fries"
 Red Shirt Fish"
 Carrot's intestinal claws"
 Brownie"
 Tomato carrot apple juice"
 Toast ice cream"
 Pepper oil"
 Get the pig oil"
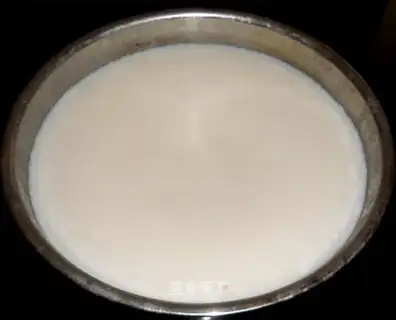 Pig oil"
 Get the pig oil"
 Get the pig oil"
 Get the pig oil"
 Get the pig oil"
 Pork oil"
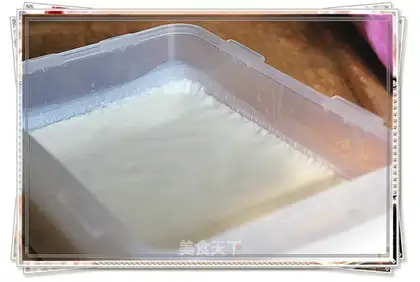 cooking lard"
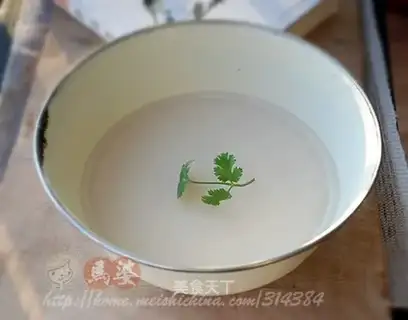 cooking lard"
 cooking lard"
 cooking lard"
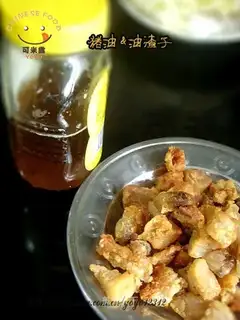 oil residue"
 Celery lily shrimp"
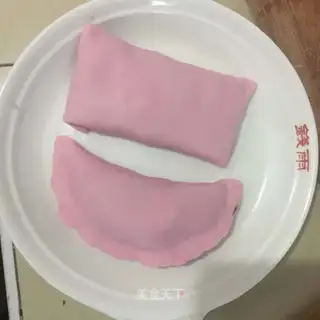 Pink casserole"
 Korean beef pastry soup"
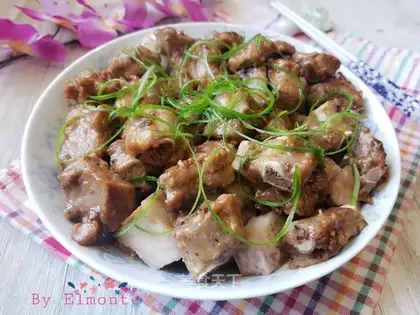 Potato varnish"
 Chicken soup with carrots"
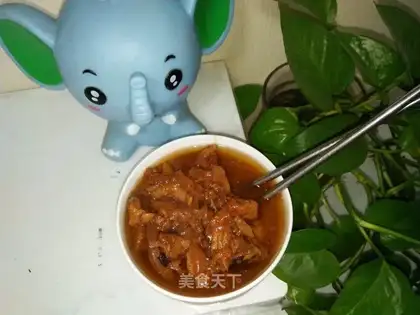 Sterilized meat"
 Cat claw marshmallows"
 Home spicy powder"
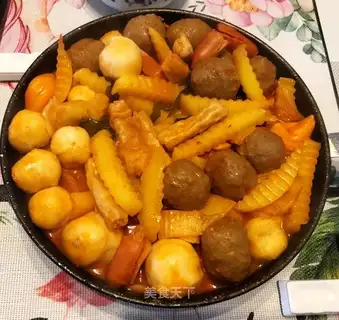 Sweet and hot"
 Piggy"
 Oily noodles"