Lard, a versatile and flavorful fat, has been a staple in kitchens for centuries. Making it at home is simple and ensures a pure, additive-free product. Here’s a detailed guide to crafting perfect lard.
Step 1: Choose the Right Fat
Start with high-quality pork fat, preferably from around the kidneys (leaf lard) or back fat (fatback). Leaf lard is prized for its neutral flavor and smooth texture, ideal for baking, while fatback renders a richer, more porky taste, suitable for savory dishes.
Step 2: Prepare the Fat
Cut the fat into small, uniform cubes (about 1 inch). Avoid lean meat, as it can cause the lard to spoil faster. Rinse the cubes in cold water and pat them dry thoroughly to prevent splattering during rendering.
Step 3: Render the Fat
Place the fat cubes in a heavy-bottomed pot or Dutch oven. Add a small amount of water (1-2 tablespoons) to prevent burning initially. Heat over low-medium heat, stirring occasionally. As the fat melts, the cubes will shrink and turn golden brown. This process takes 1-2 hours. Do not rush—low heat ensures a pure, clear lard.
Step 4: Strain and Store
Once the cracklings (solid bits) are crispy and golden, remove the pot from heat. Line a fine-mesh sieve with cheesecloth and strain the liquid fat into a heatproof container. For extra clarity, strain it twice. Let the lard cool completely before covering. It will solidify into a smooth, white solid.
Storage and Uses
Store lard in an airtight container in the refrigerator for up to 3 months or freeze for longer shelf life. Use it for flaky pastries, crispy fried foods, or as a cooking oil for vegetables. Homemade lard adds a depth of flavor that store-bought versions lack, making it a worthwhile addition to any kitchen.
 lard"
lard" Five fragrance pig hands"
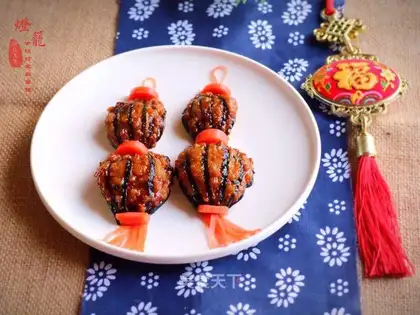 Red lantern"
 Beefball cheese rice"
 An egg box of celery"
 Tasty apple sauce pie"
 cooking lard"
 Chicken soup with carrots"
 Homemade tofu"
 Baked chestnuts"
 Pumpkin"
 Korean beef pastry soup"
 Apple papaya salad"
 Pelican mouth mushrooms"
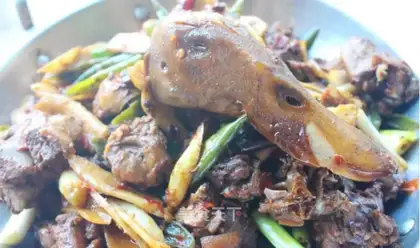 Ginger"
 Fries"
 Toast ice cream"
 Piggy onions"
 The cabbage and the fish"
 Carrot's intestinal claws"
 Taste the fragrance"
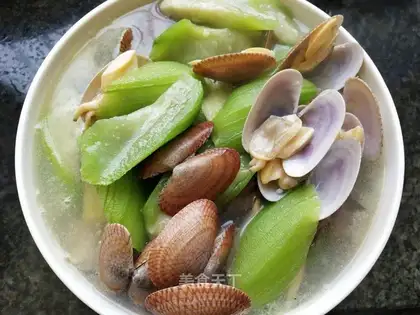 Oil and melon soup"
 Five bouquets"
 Onion fried eggs"
 Sweet and hot"
 Home spicy powder"
 Beef dumplings"
 Sourfish"
 Tomato carrot apple juice"
 The apricots burn the rib"
 Oily noodles"
 White mushroom cucumber fried eggs"
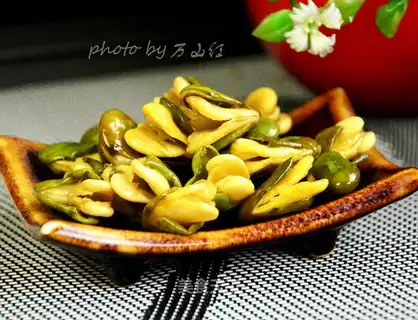 Fried green beans"
 Red Shirt Fish"
 Pig oil"
 Piggy rice"
 Crab sauce fried eggs"
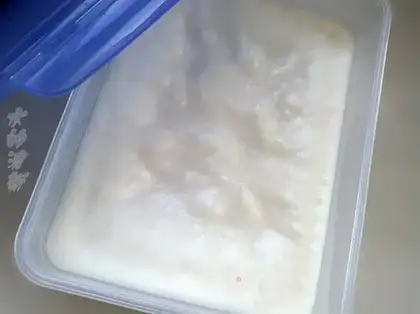 skilfully refined lard"
 bean paste crisp"